


| Click on any of the buttons below to see wonderous things! |

| Kline/Fogleman Airfoil # 2 |
| 30 July 2007 Uncle Dean |
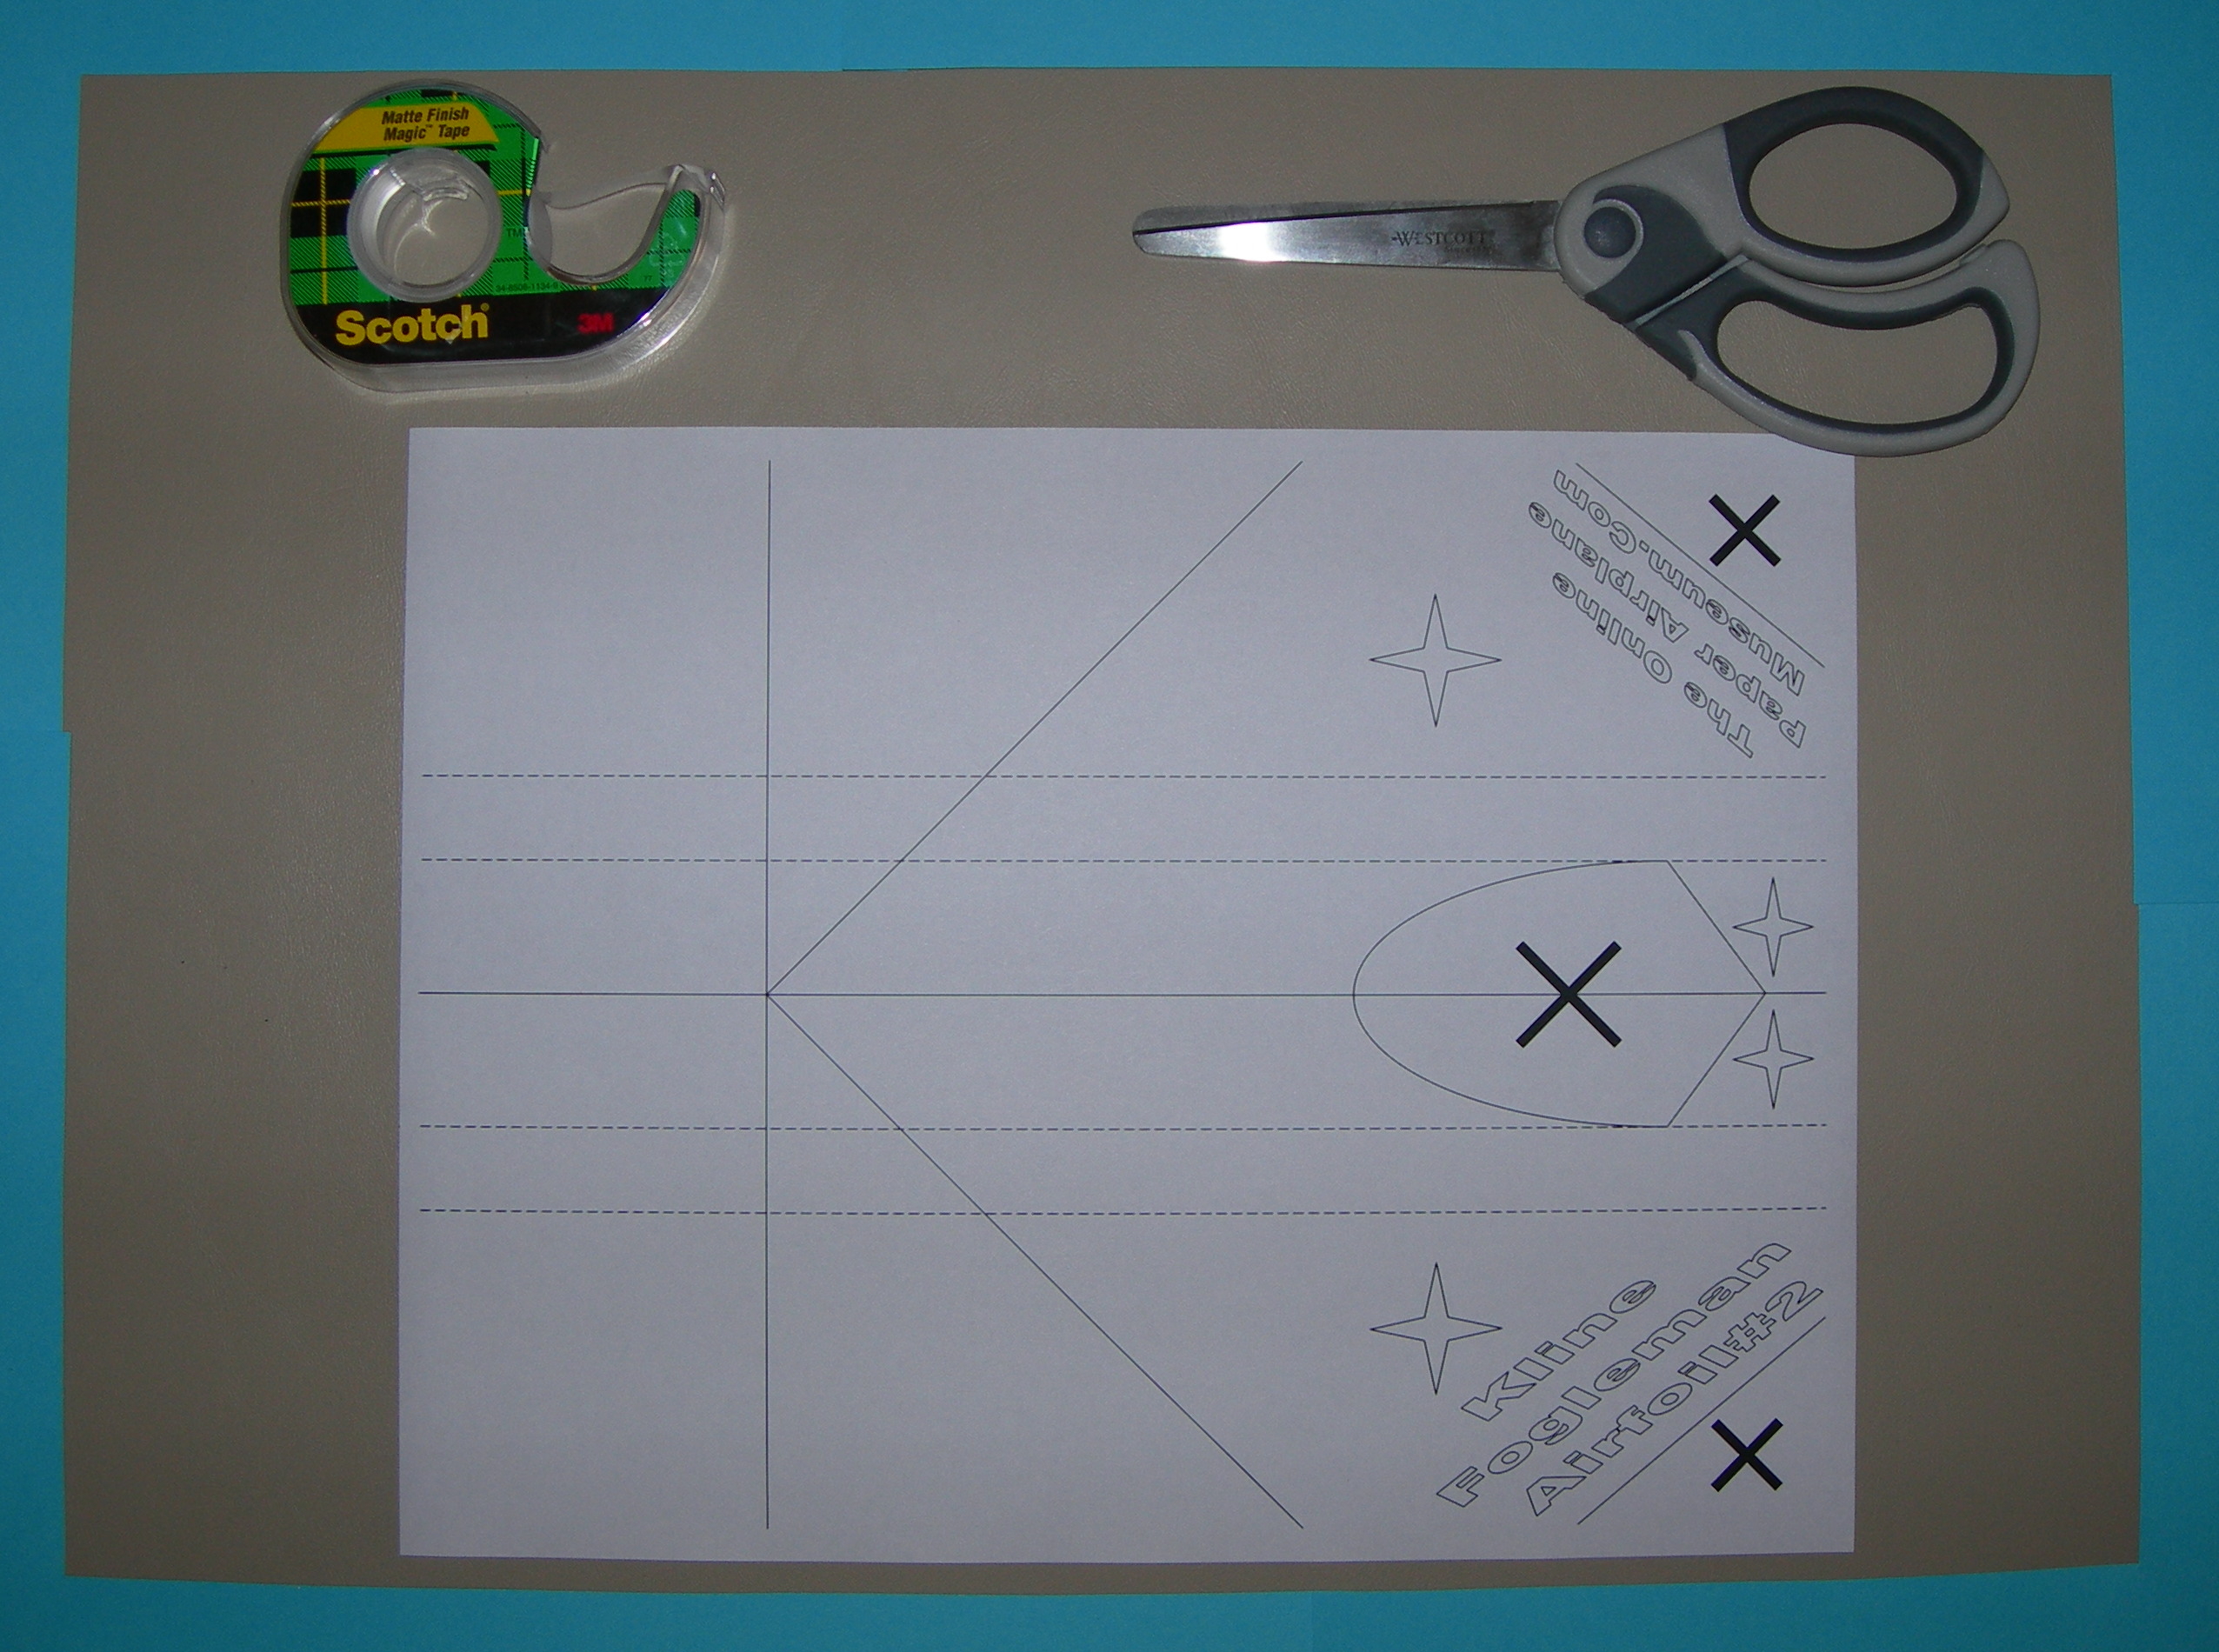
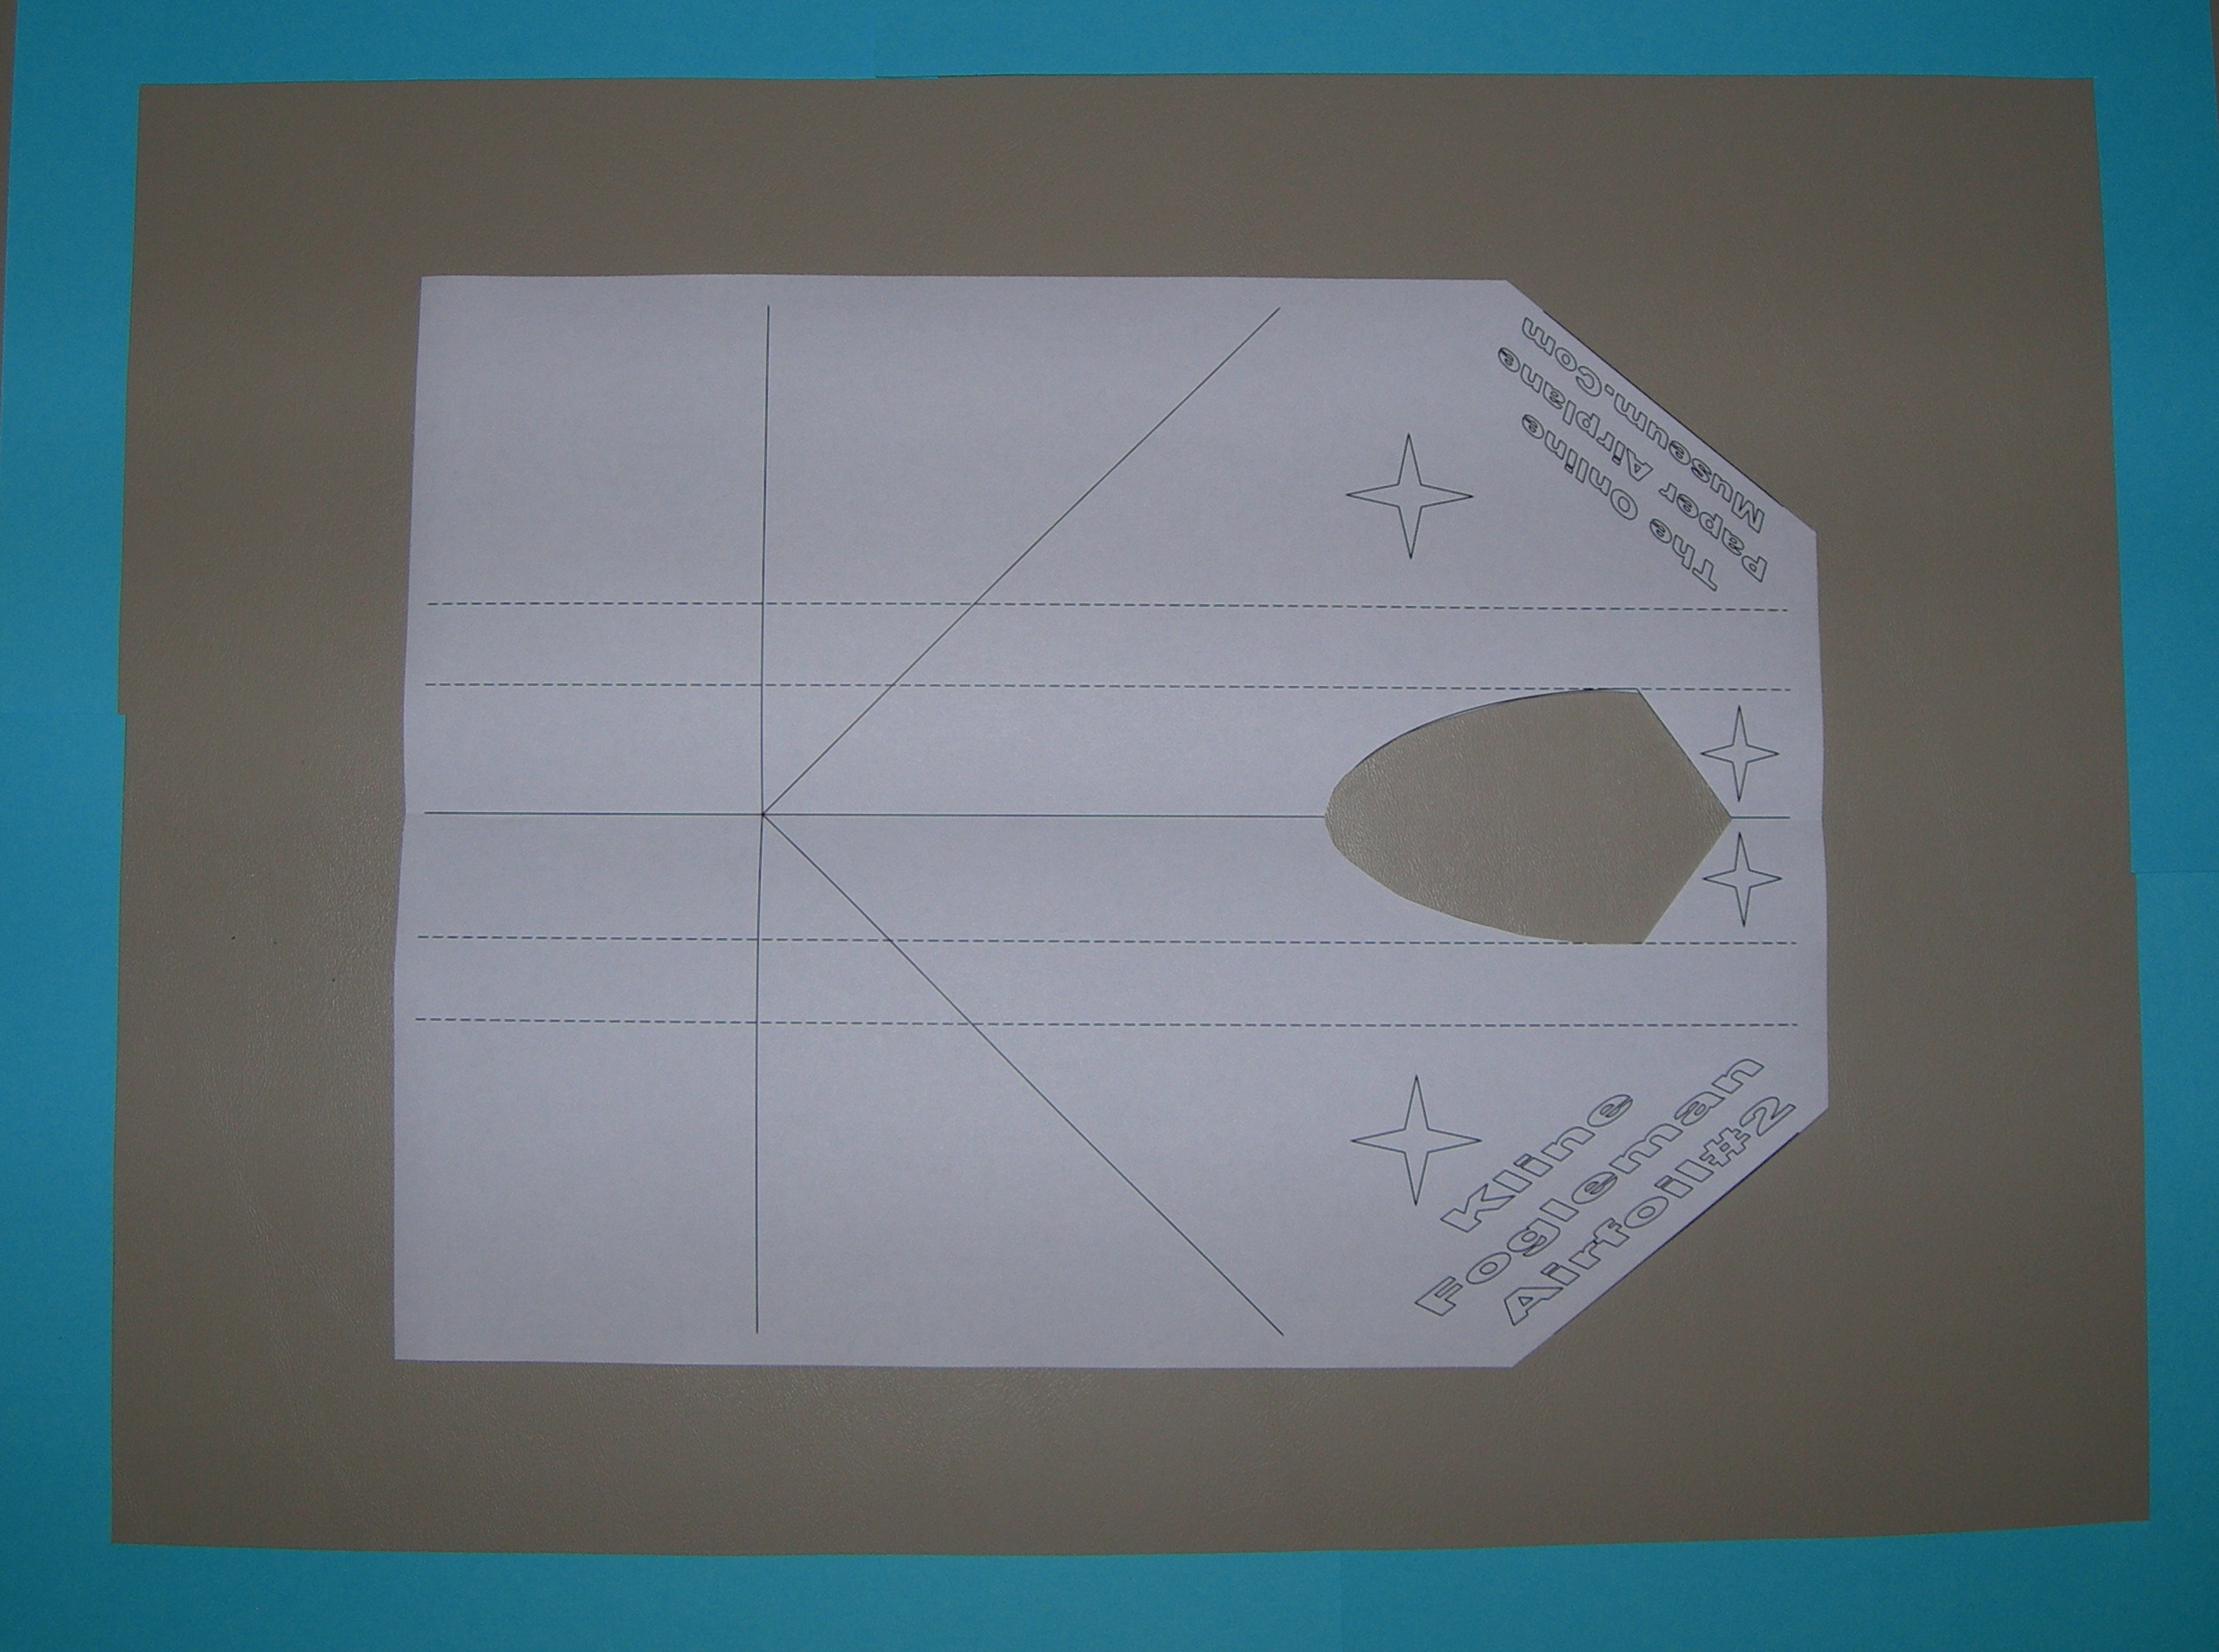
| Step 1 - Start with a copy of the design, a pair of scissors and some clear tape. |
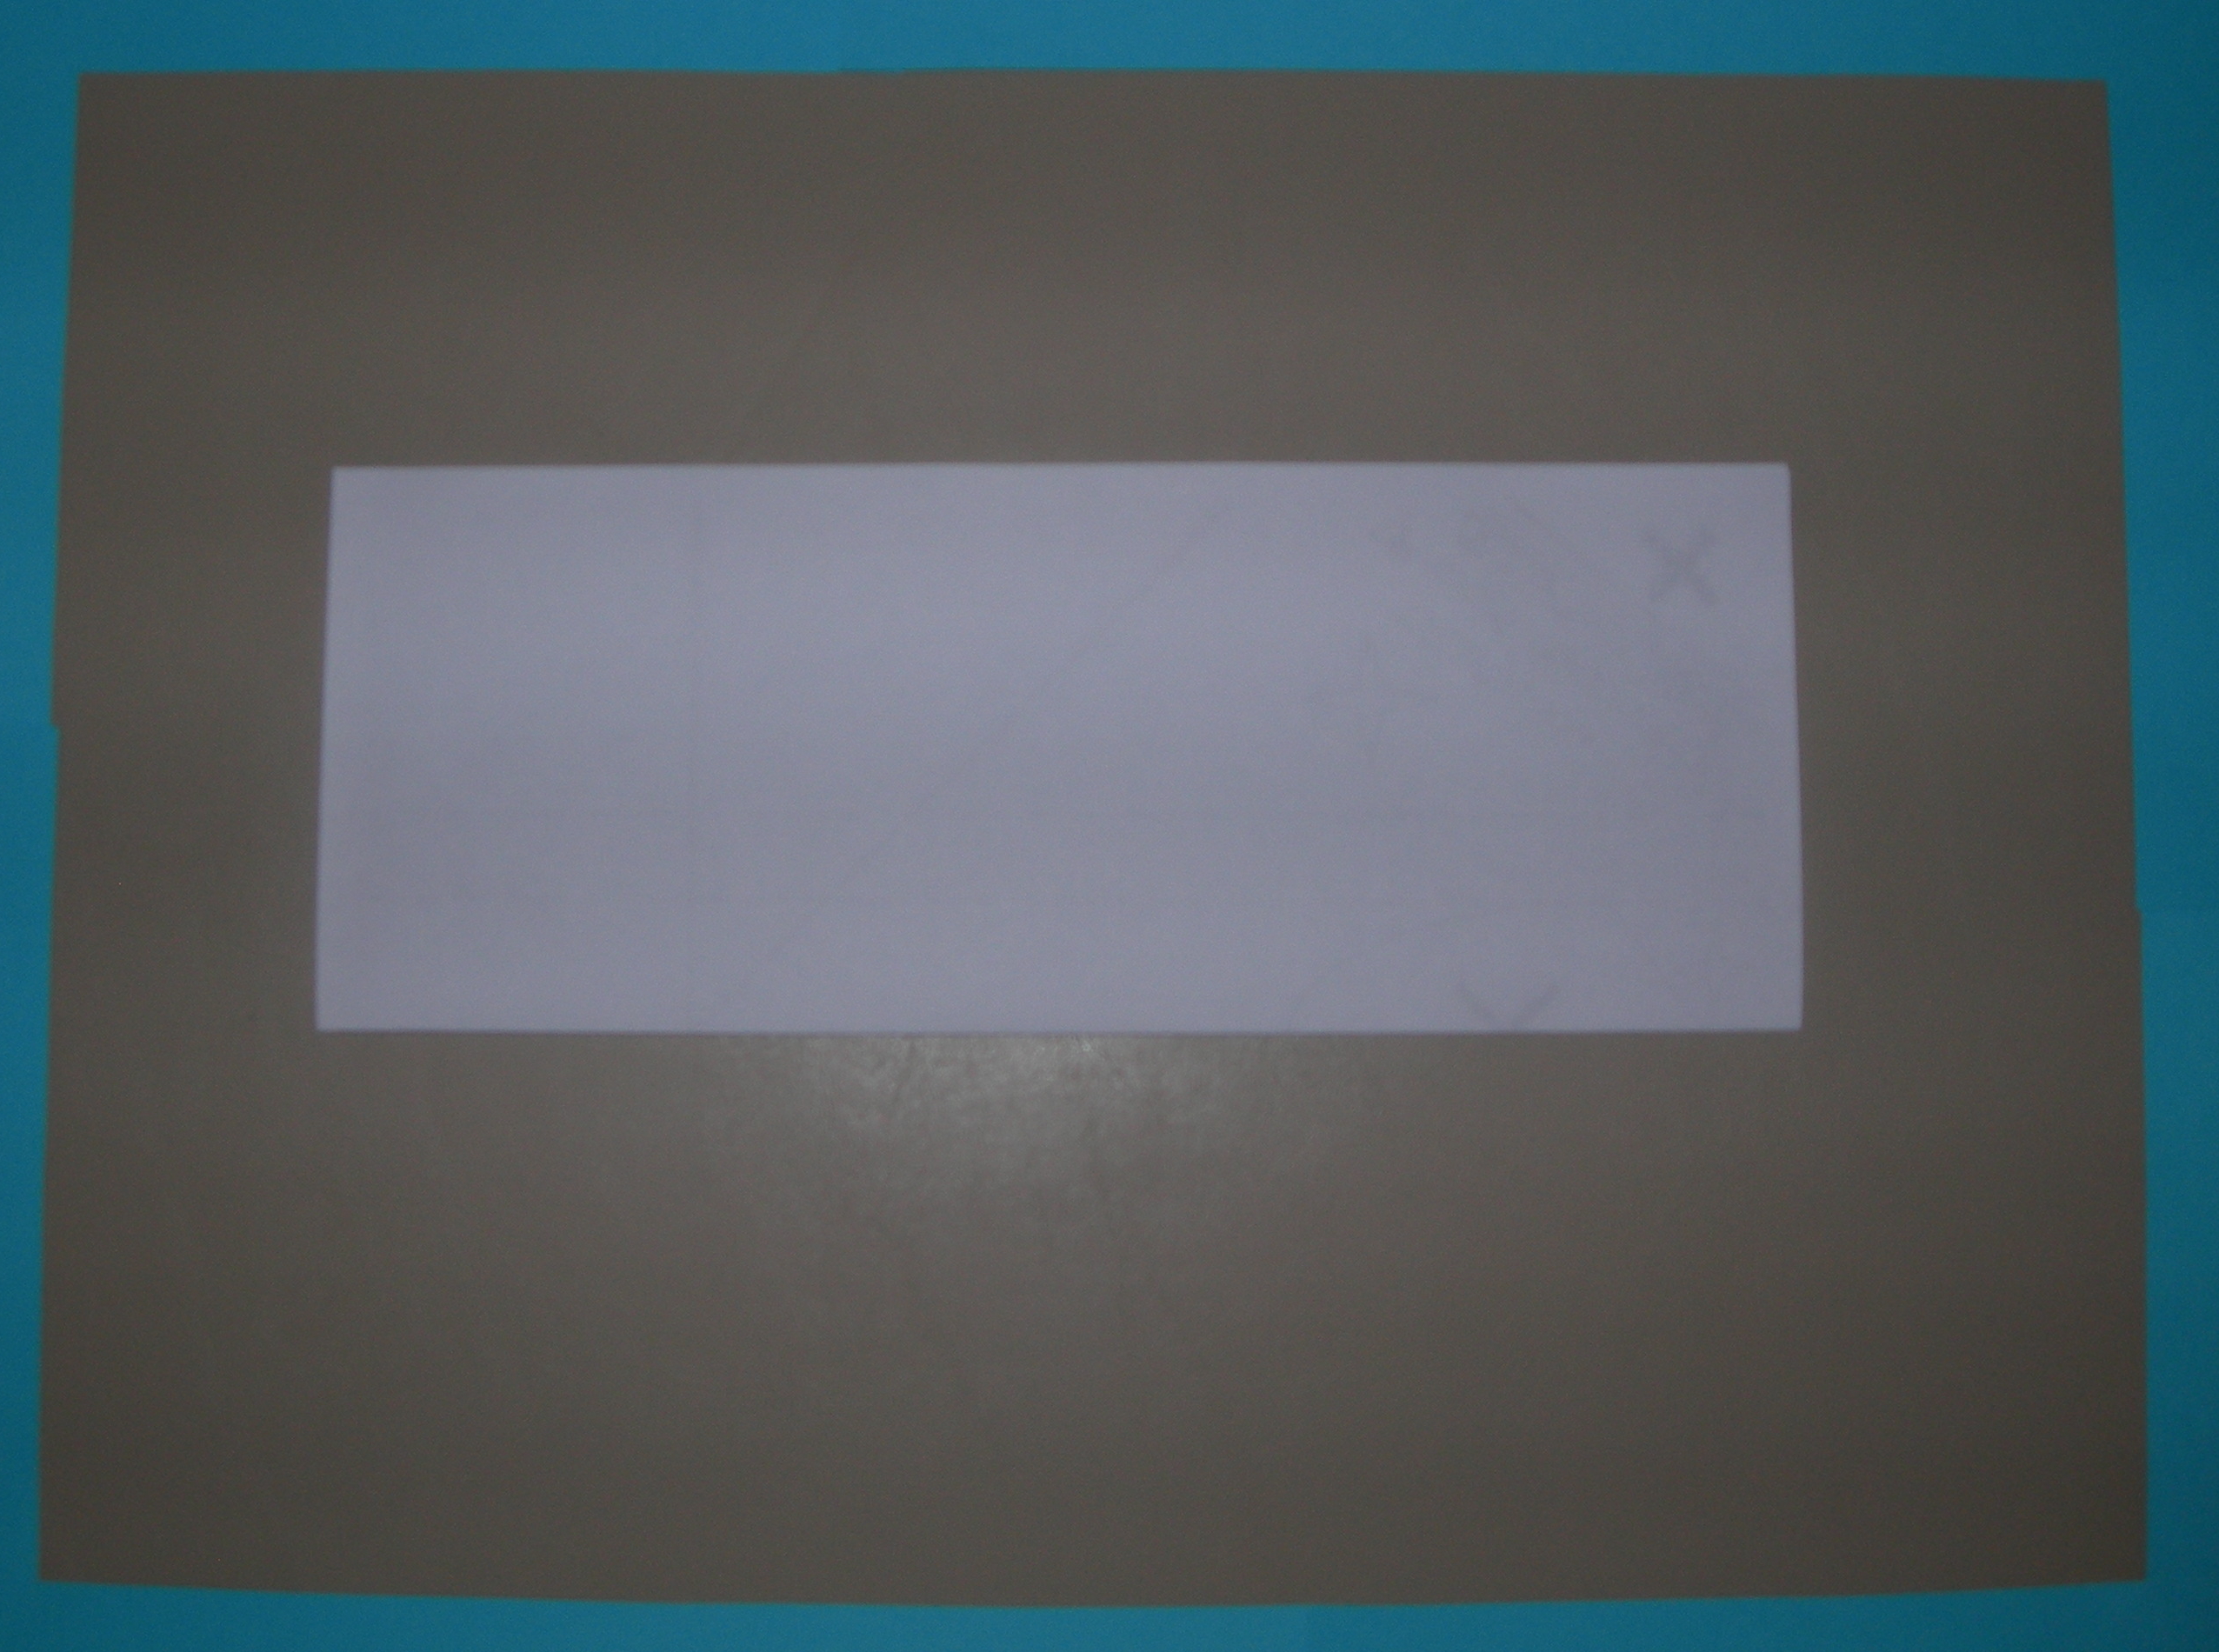
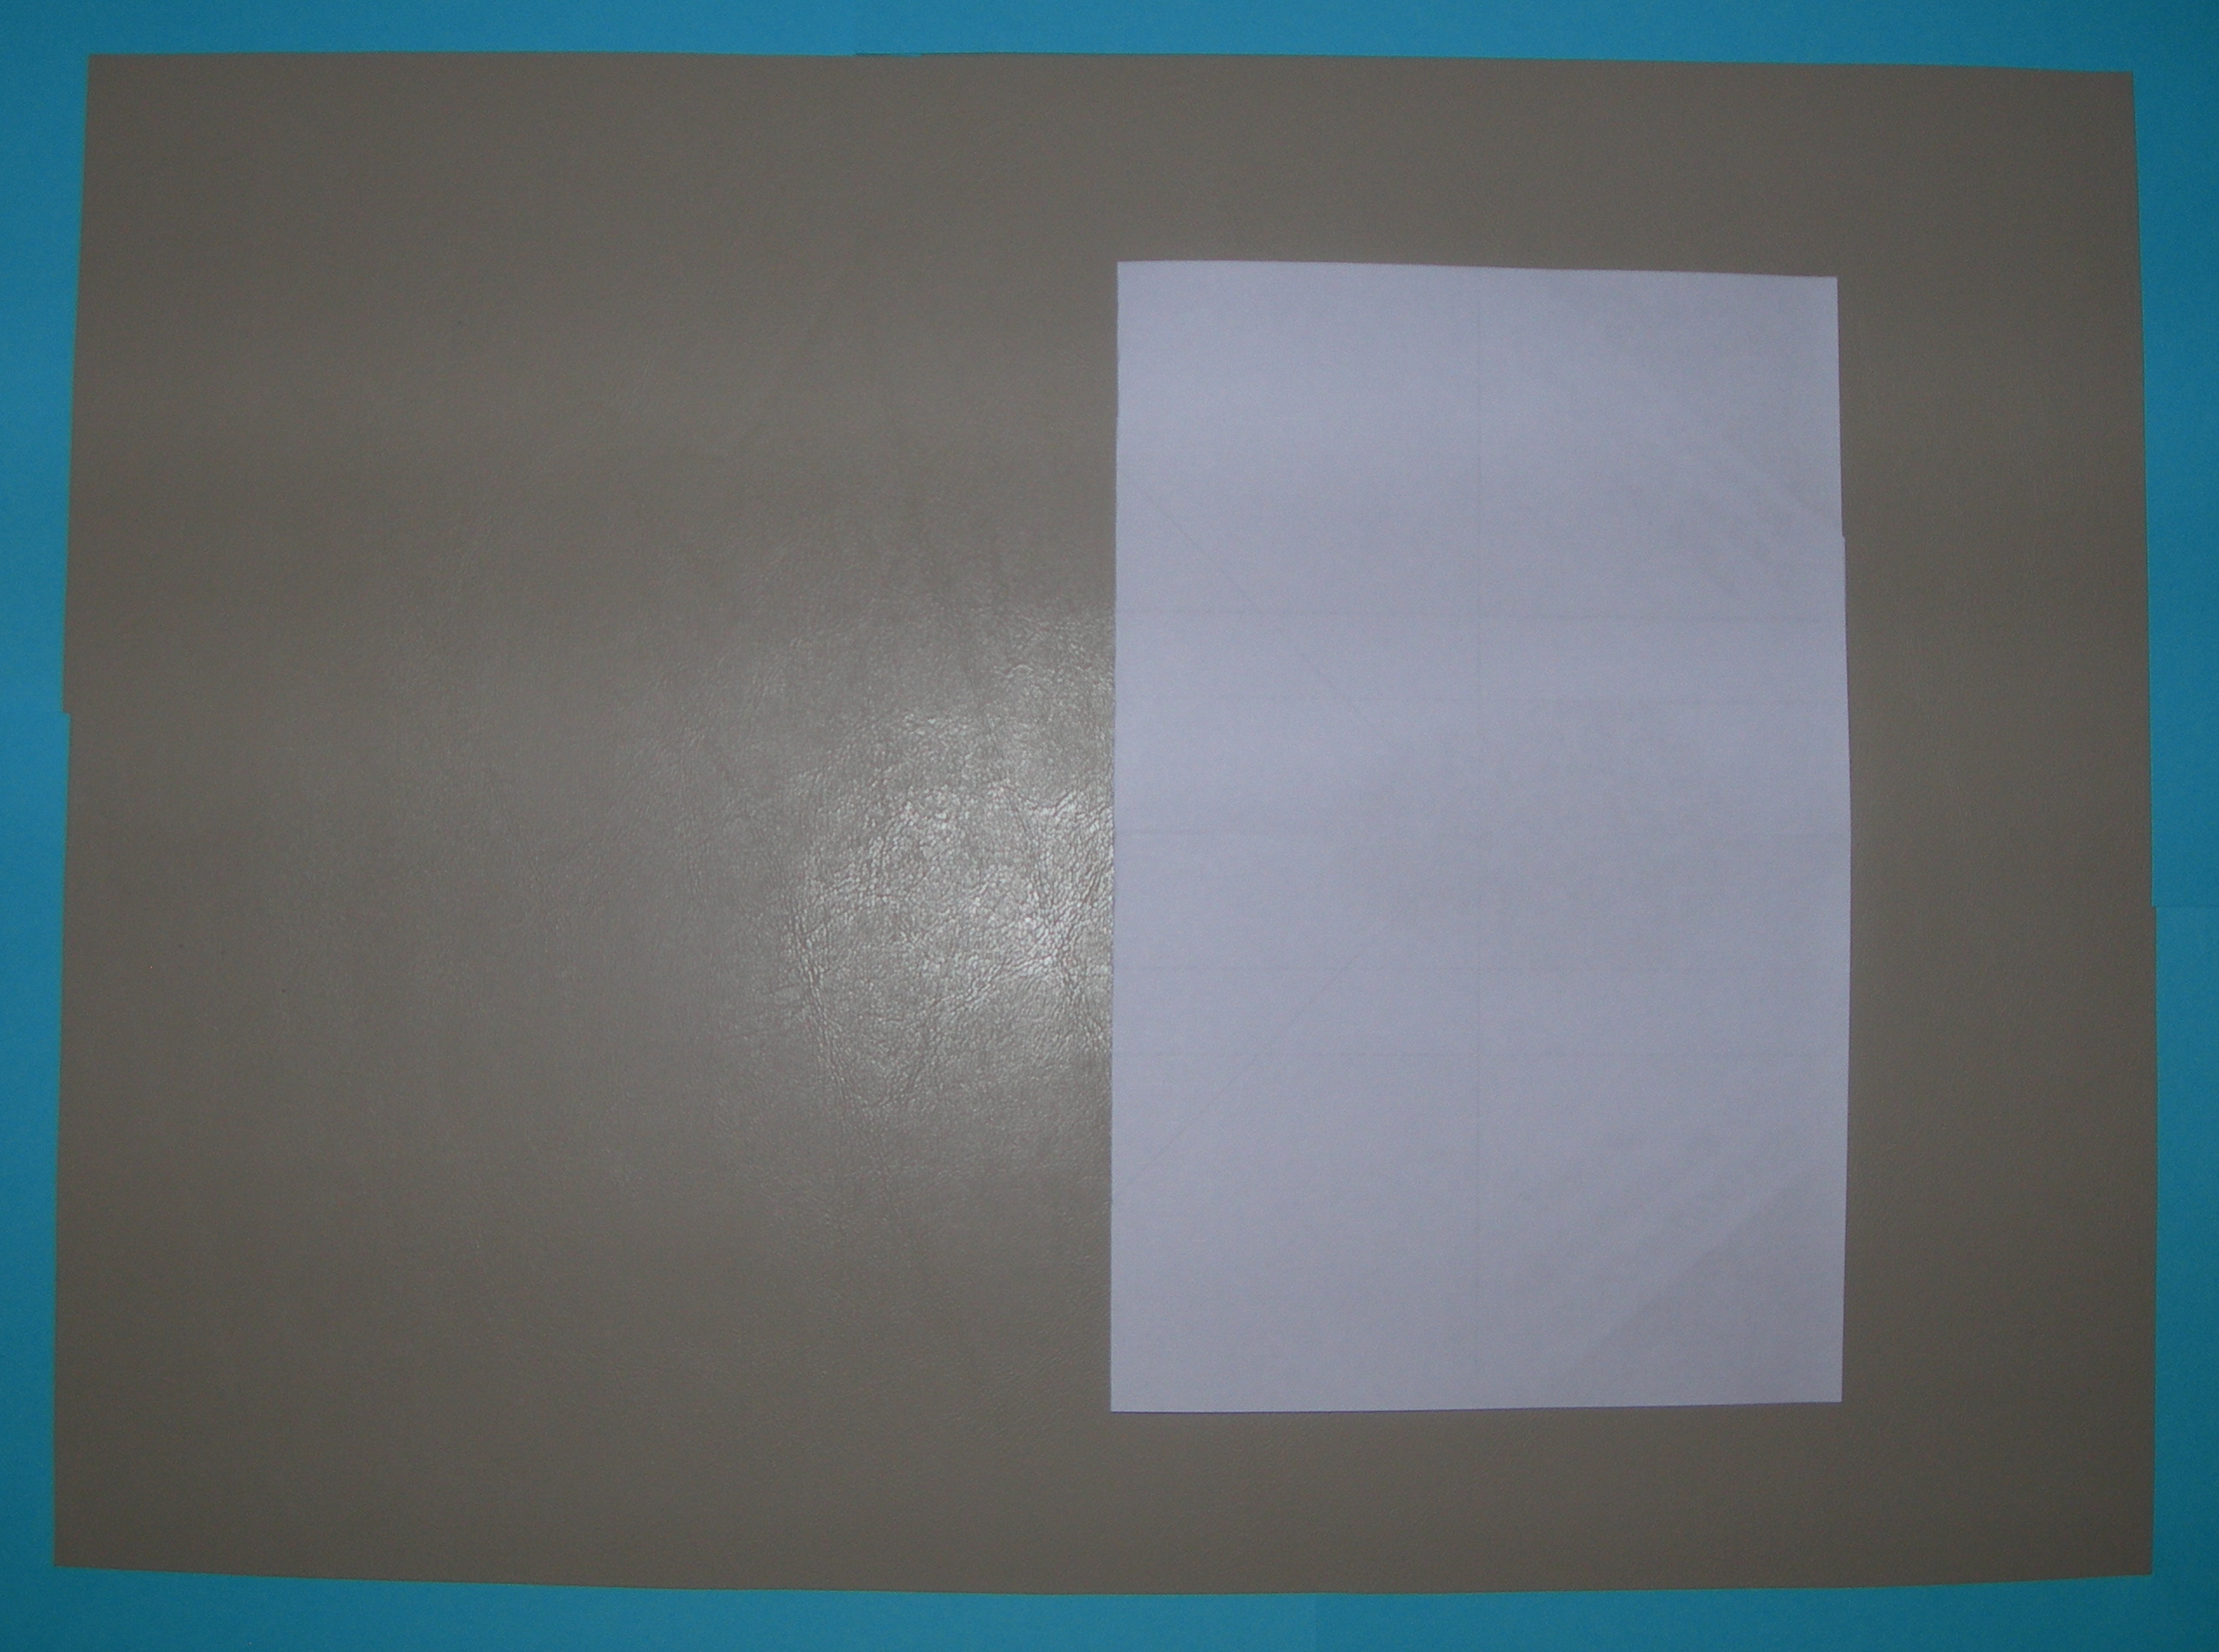
| Step 2 - Fold in half lengthwise. |
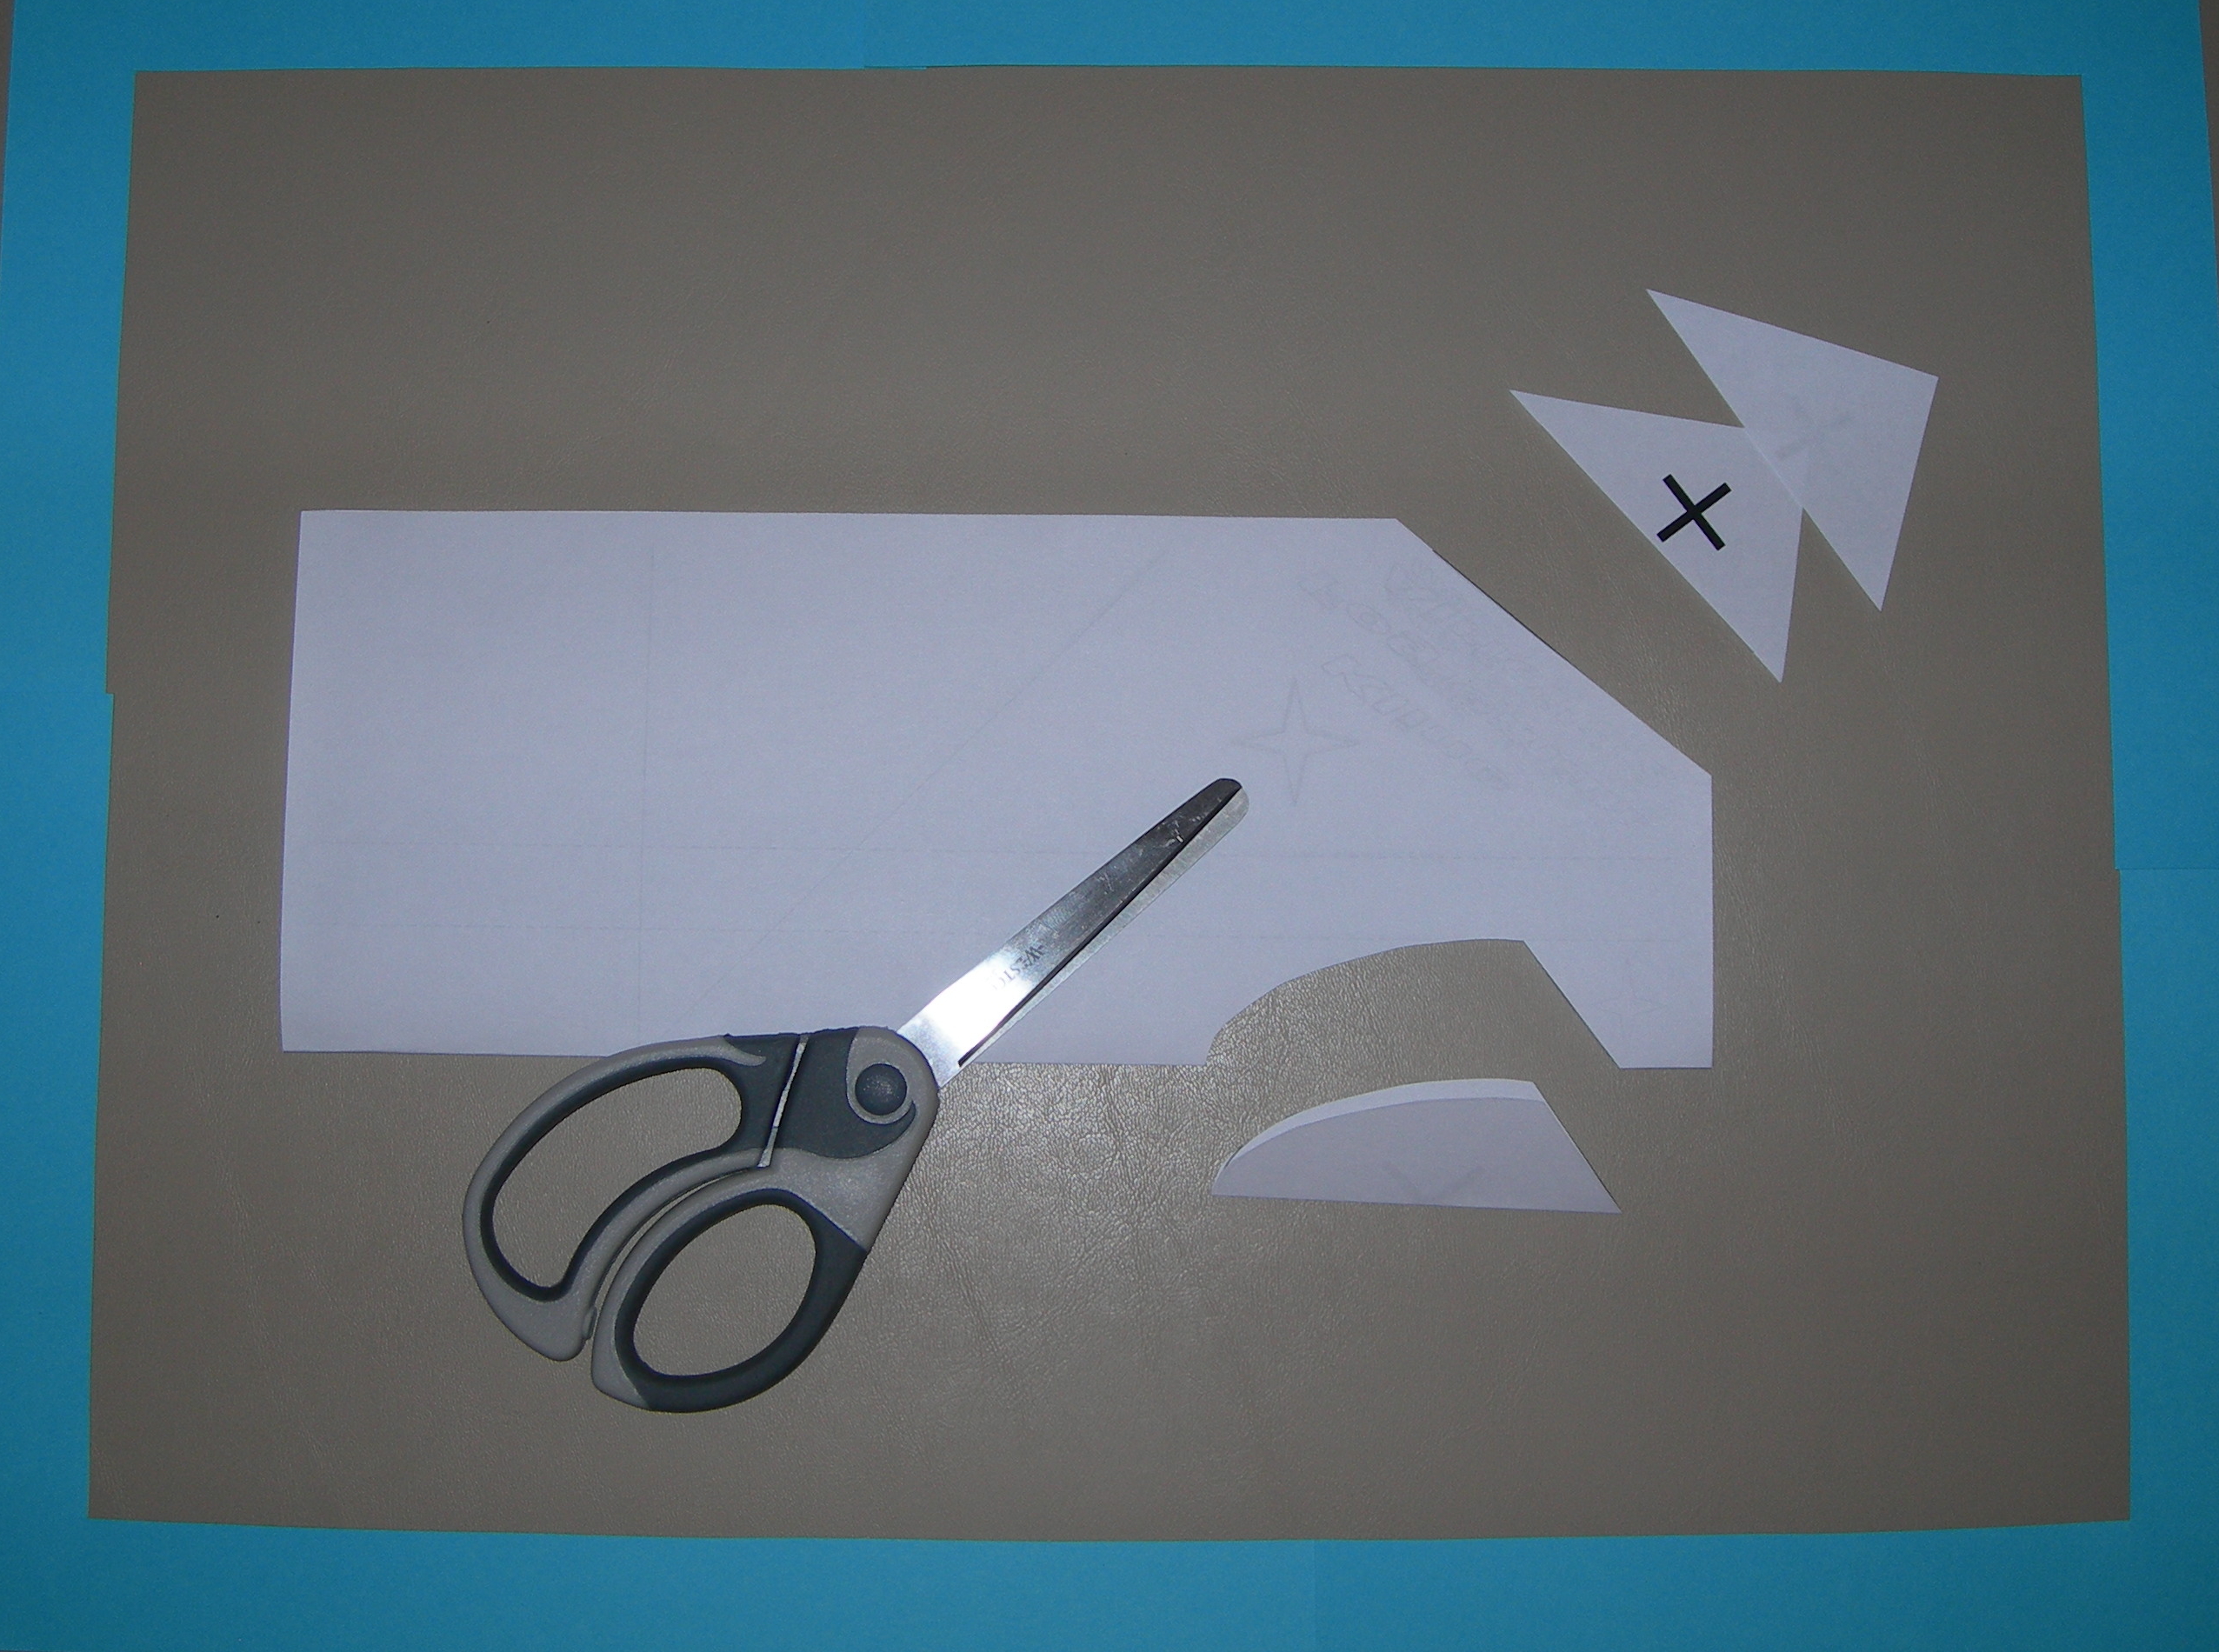
| Step 3 - Cut out the three sections marked with an "X", and recycle the scraps. |
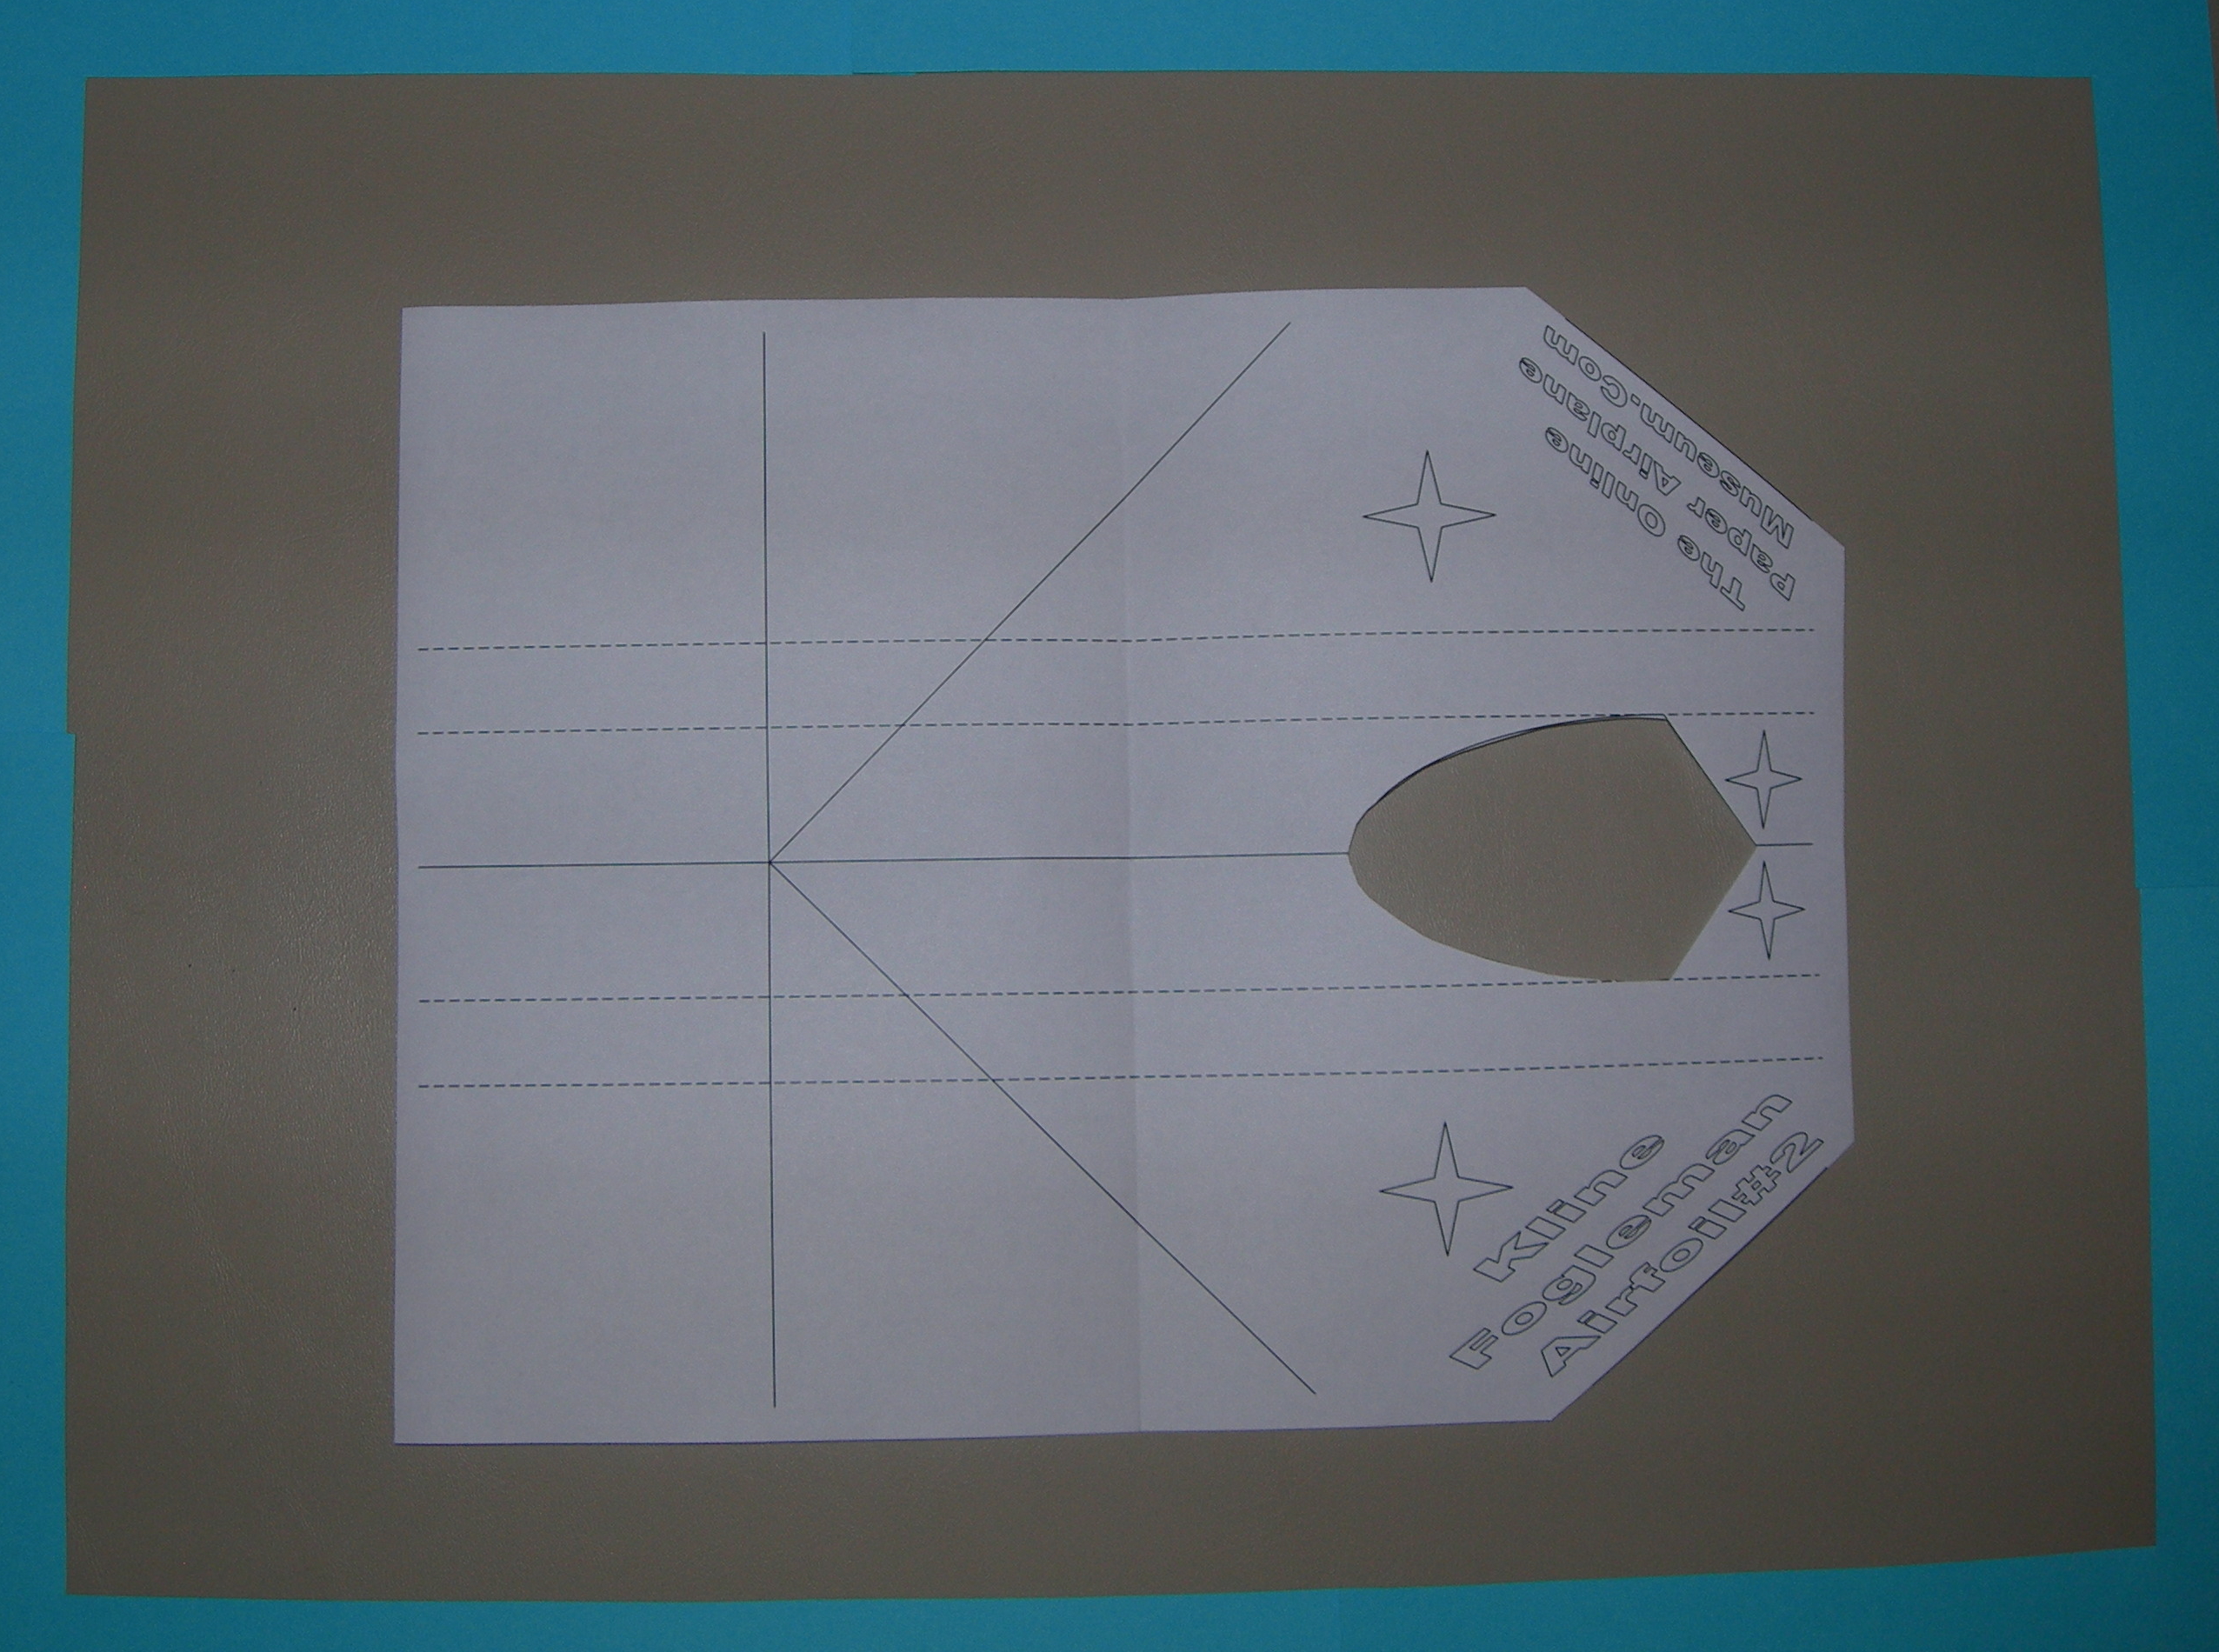
| Step 4 - Unfold. |
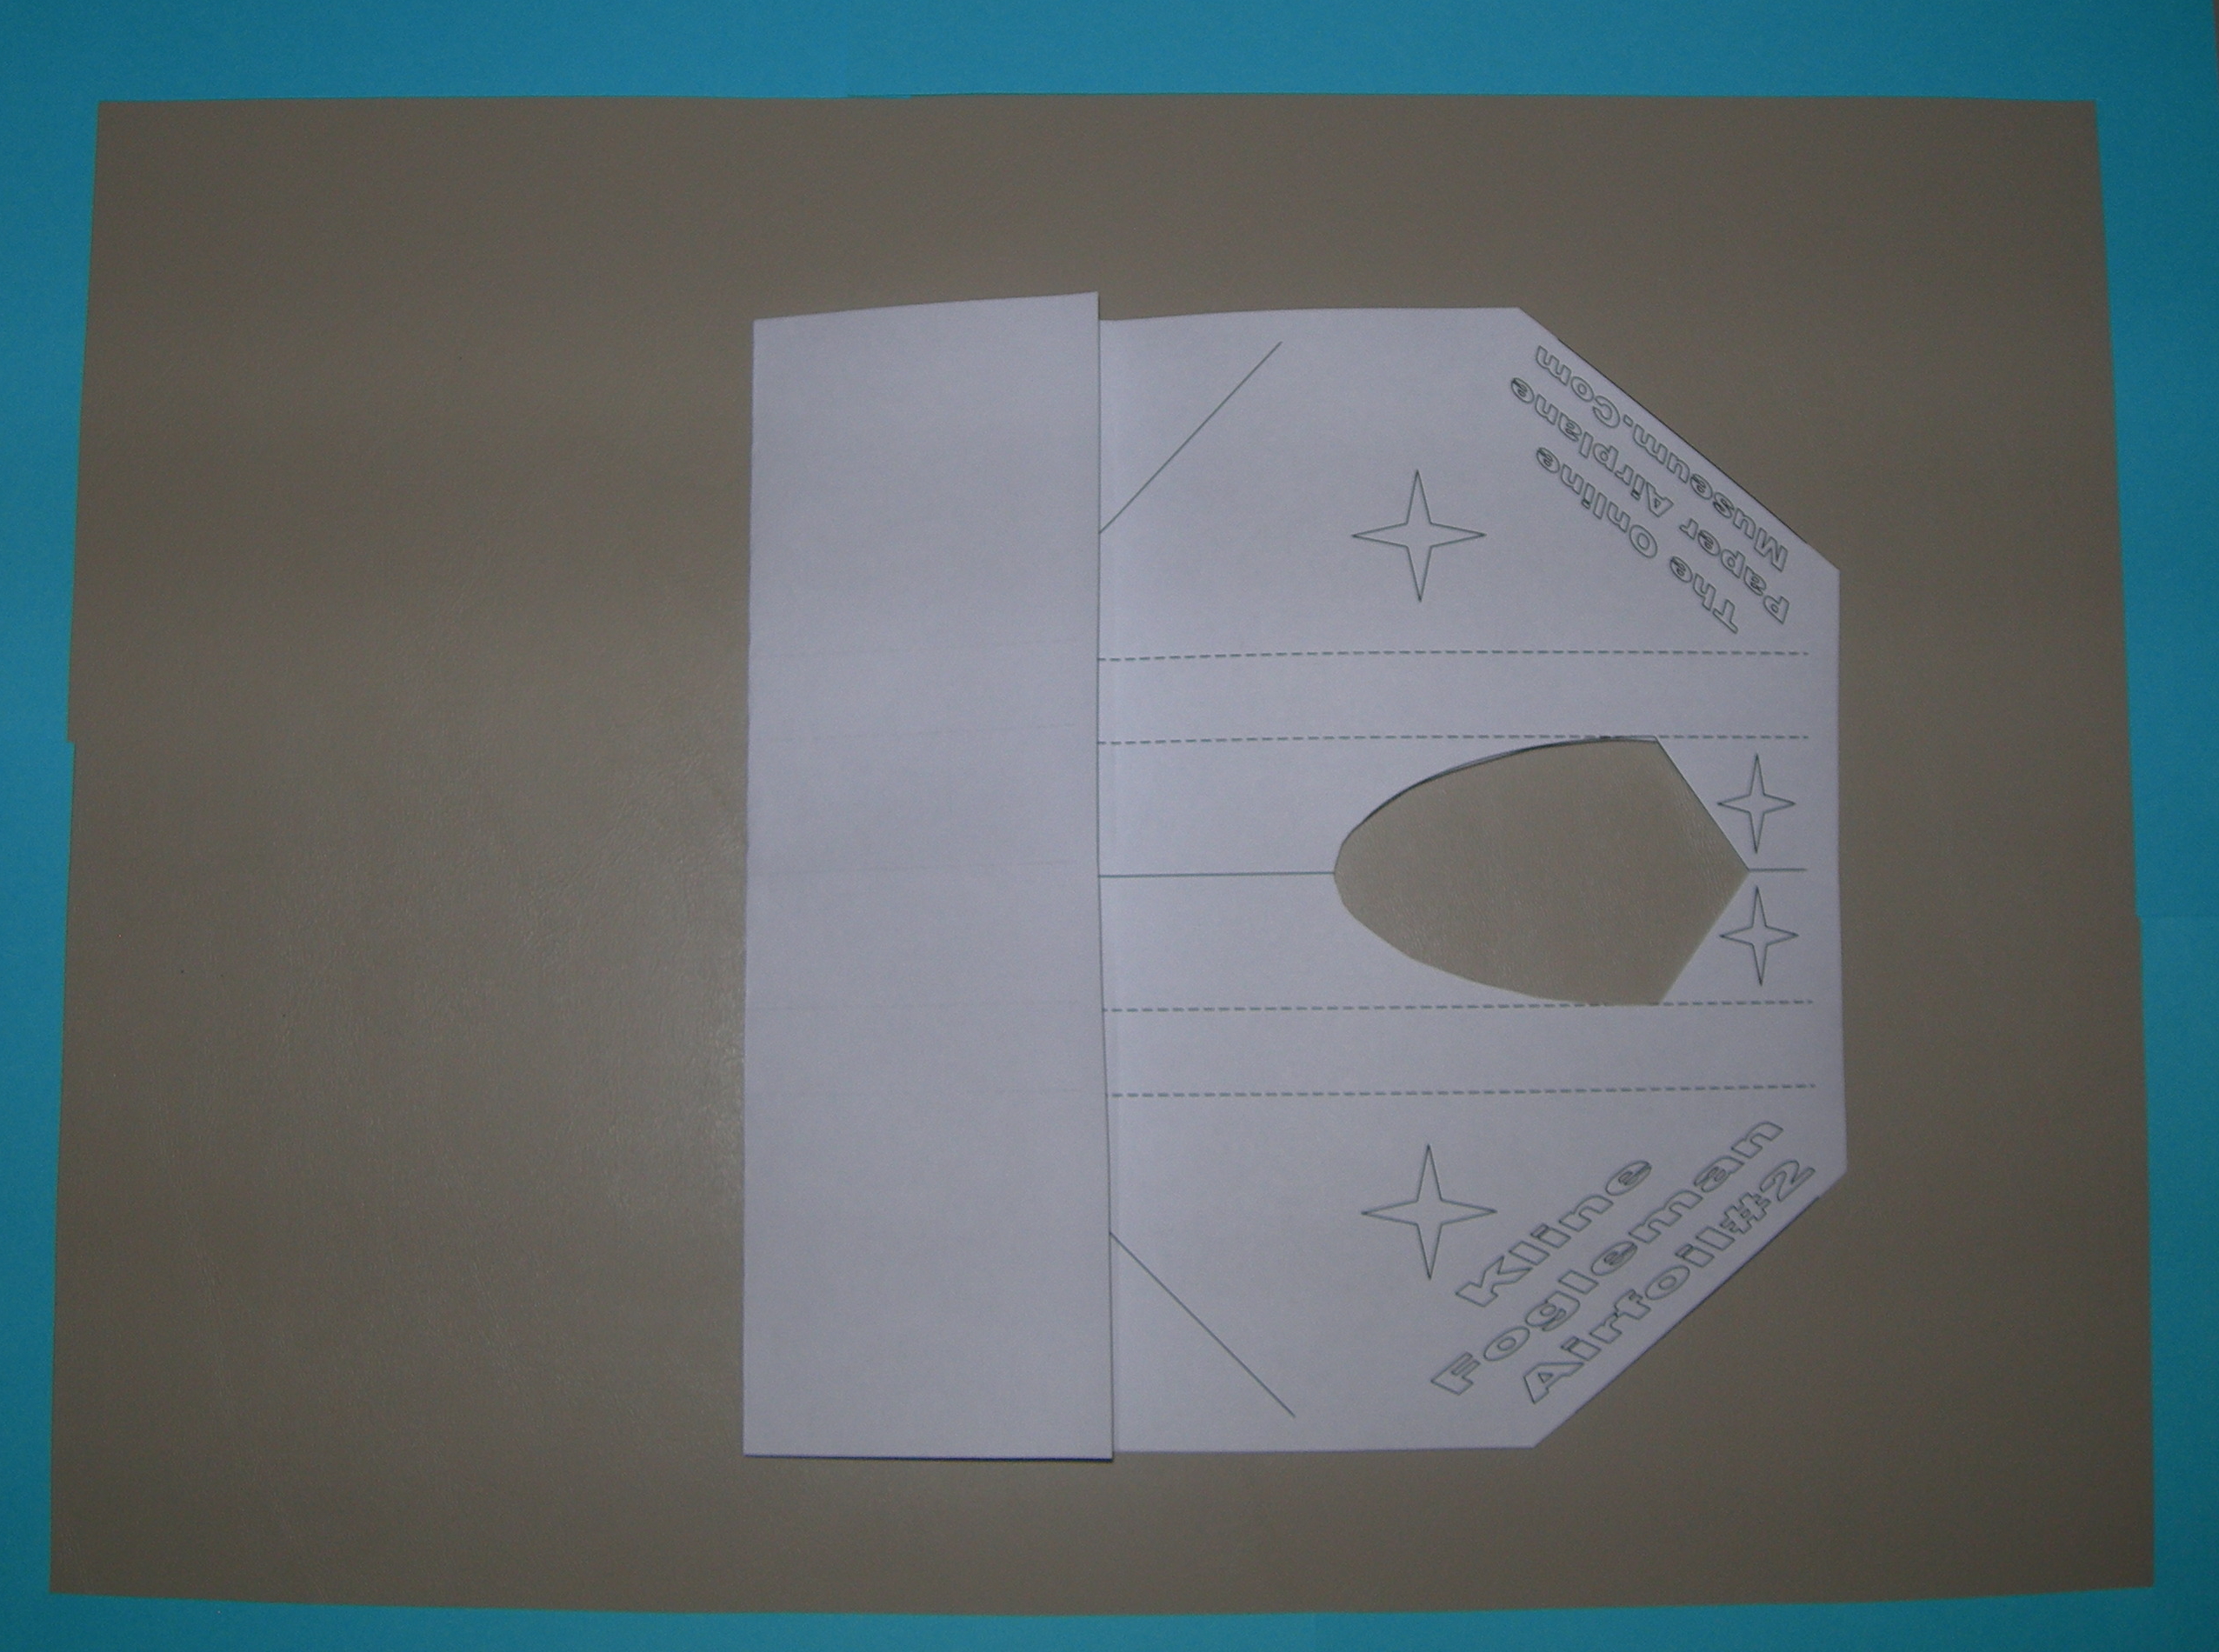
| Step 5 - Fold the left side of the paper over to the right side. |
| Step 6 - Unfold. |
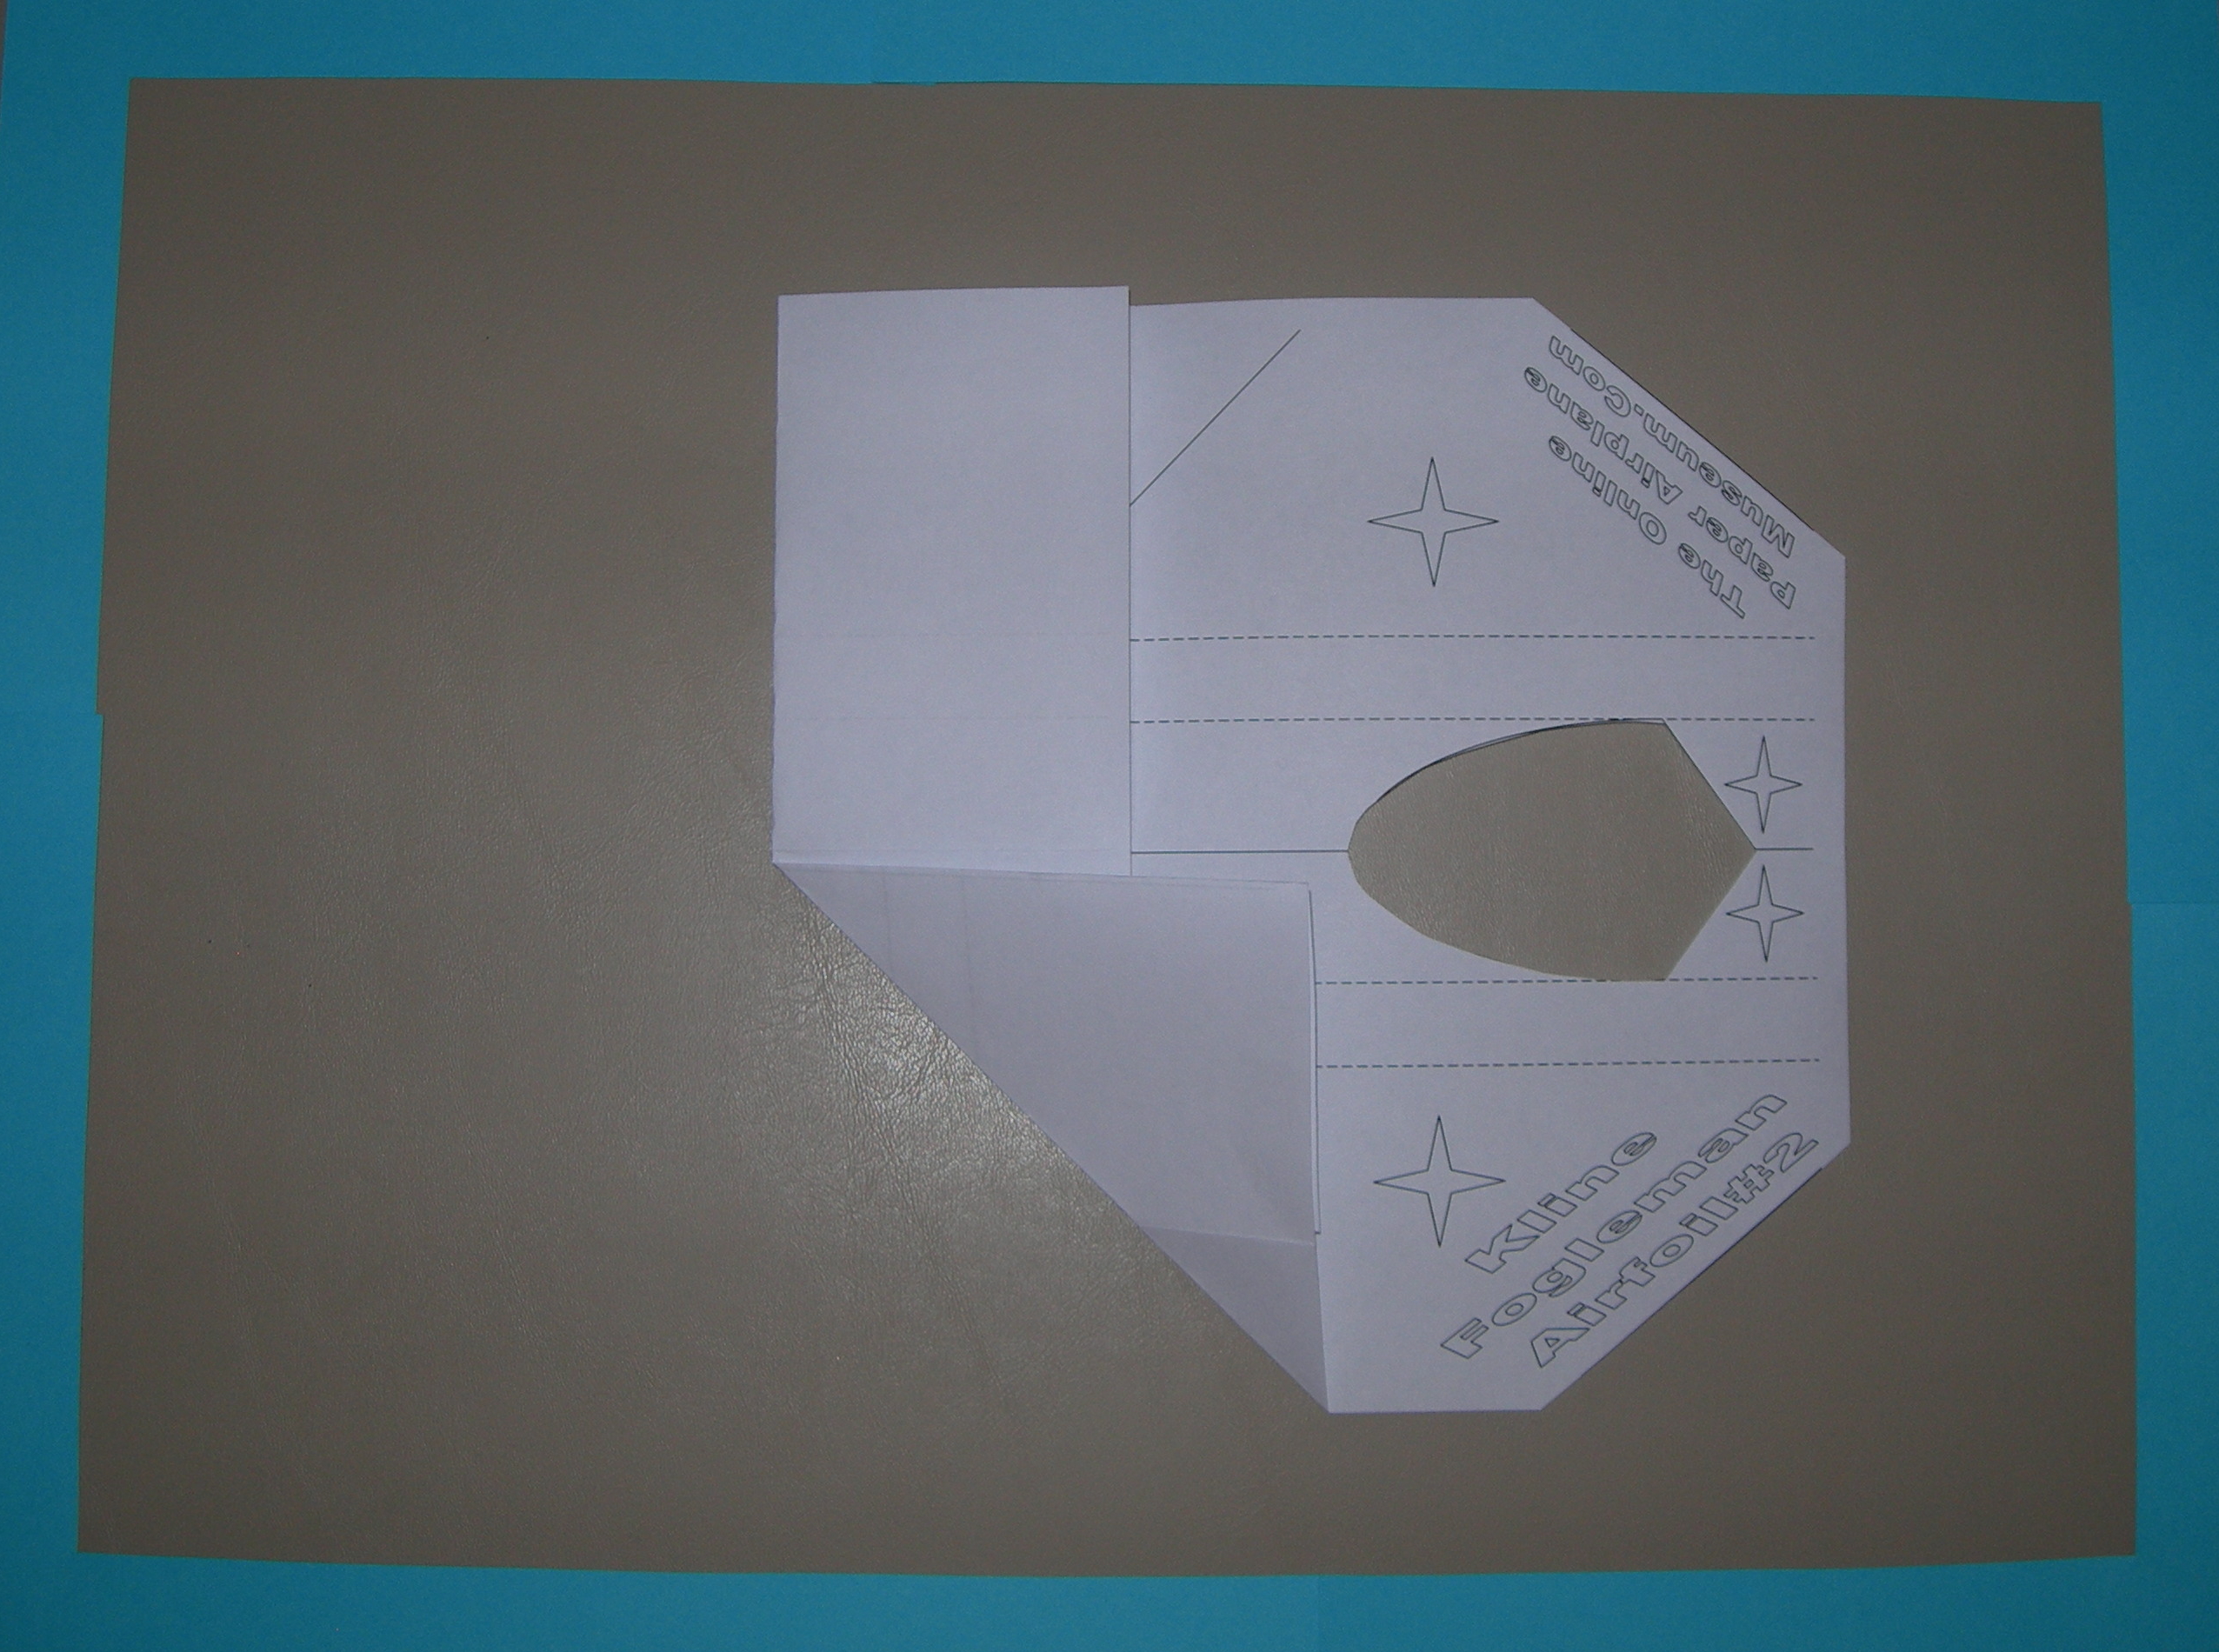
| Step 7 - Fold the left side over to the middle crease you just created. |
| Step 8 - Fold the bottom left corner up to and even with the center lengthwise crease. |
| Step 9 - Fold the upper left corner down to and even with the center lengthwise crease. |
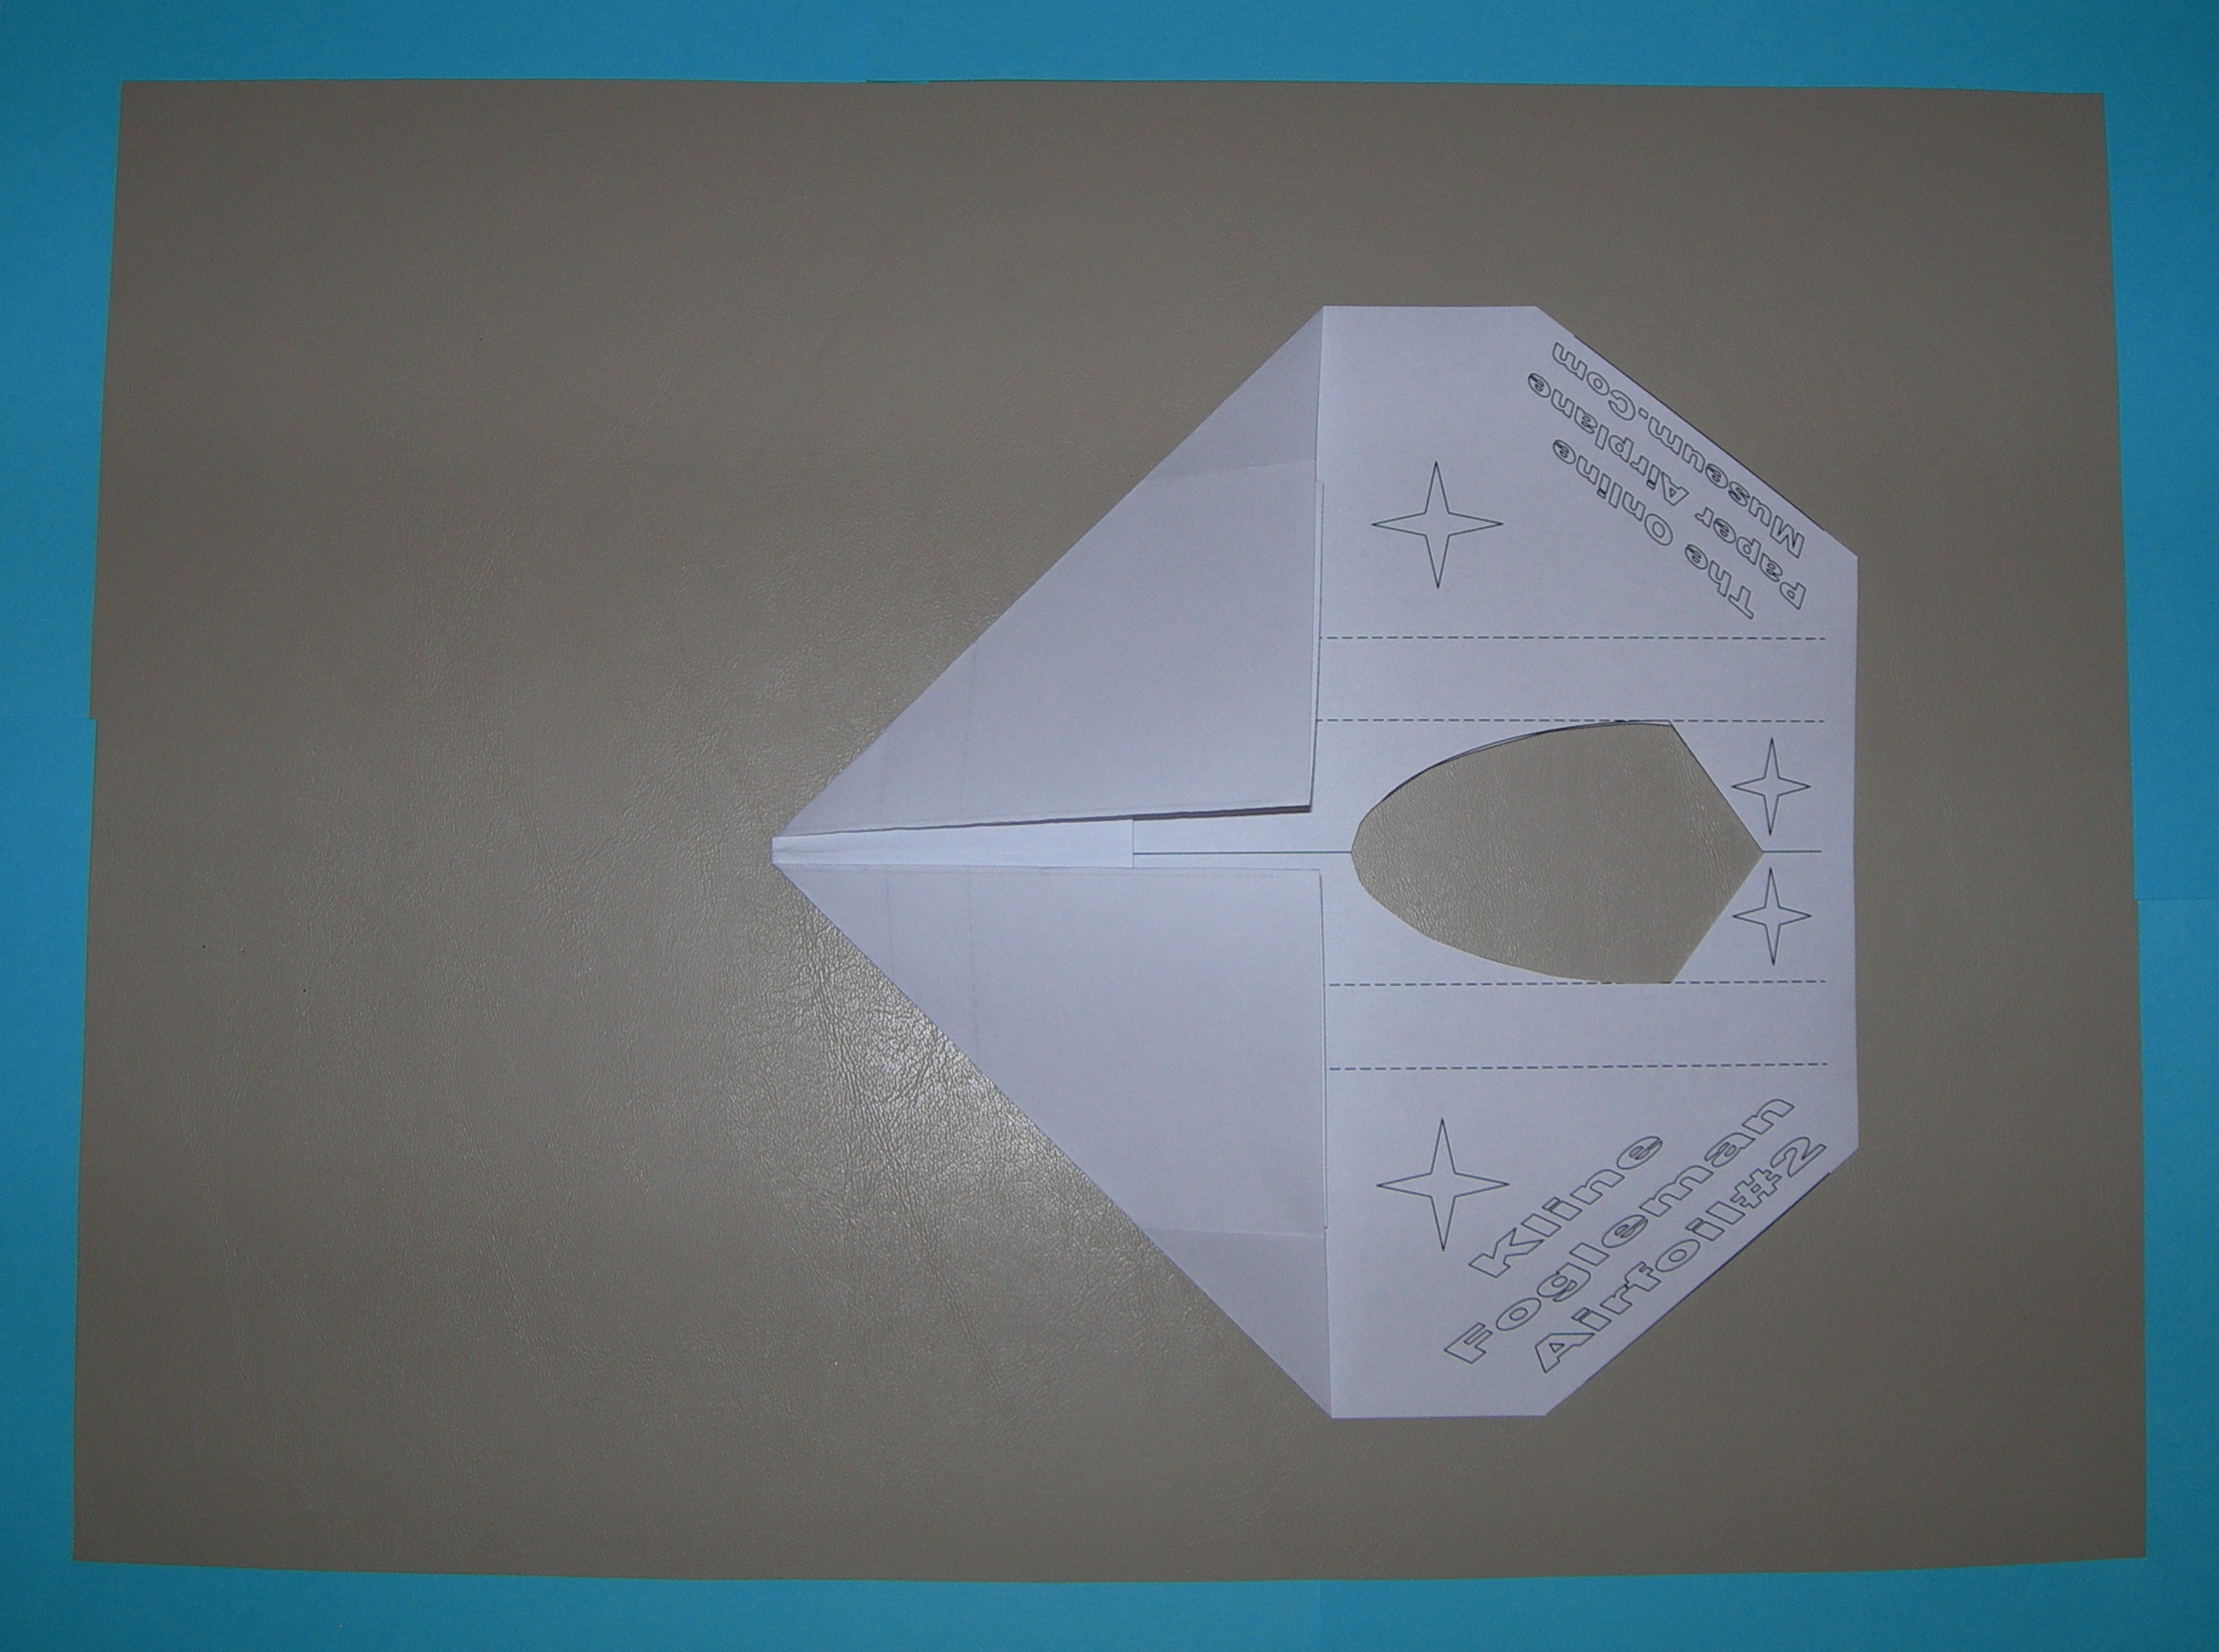
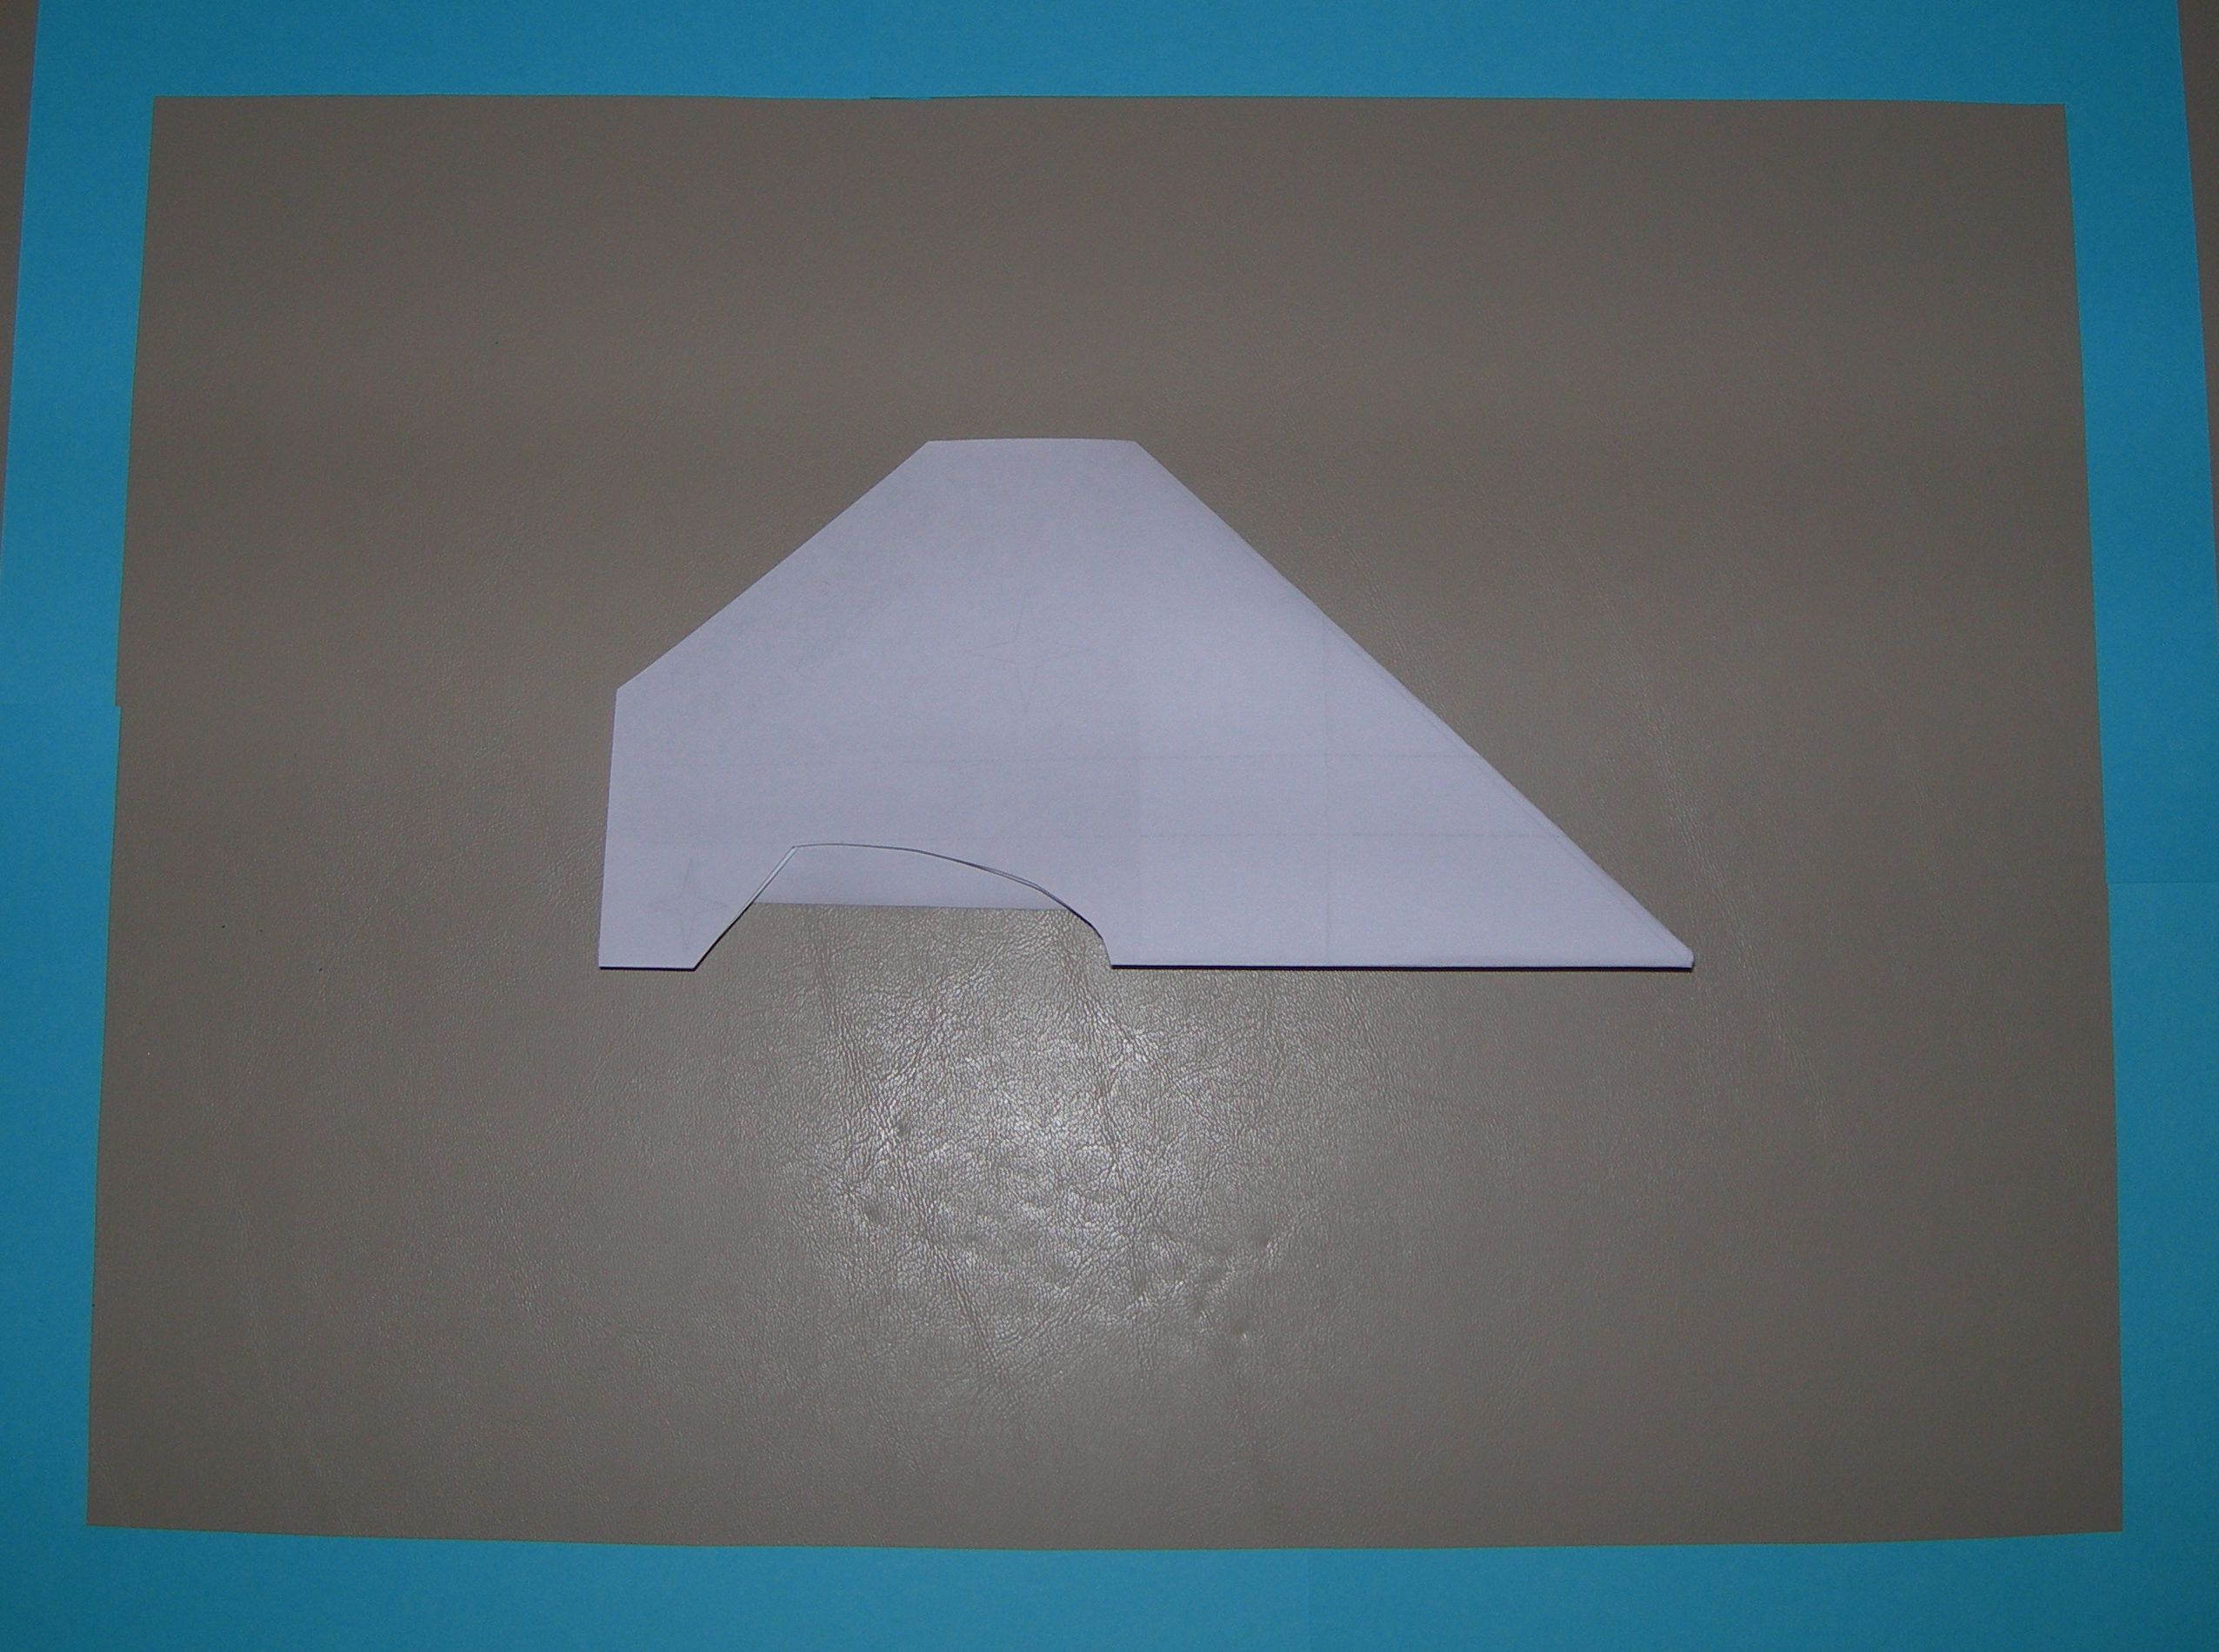
| Step 10 - Fold the bottom up to and even with the top side. |
| Step 11 - Fold down the upper wing along the dotted line. |
| Step 12 - Fold up along the other dotted line. |
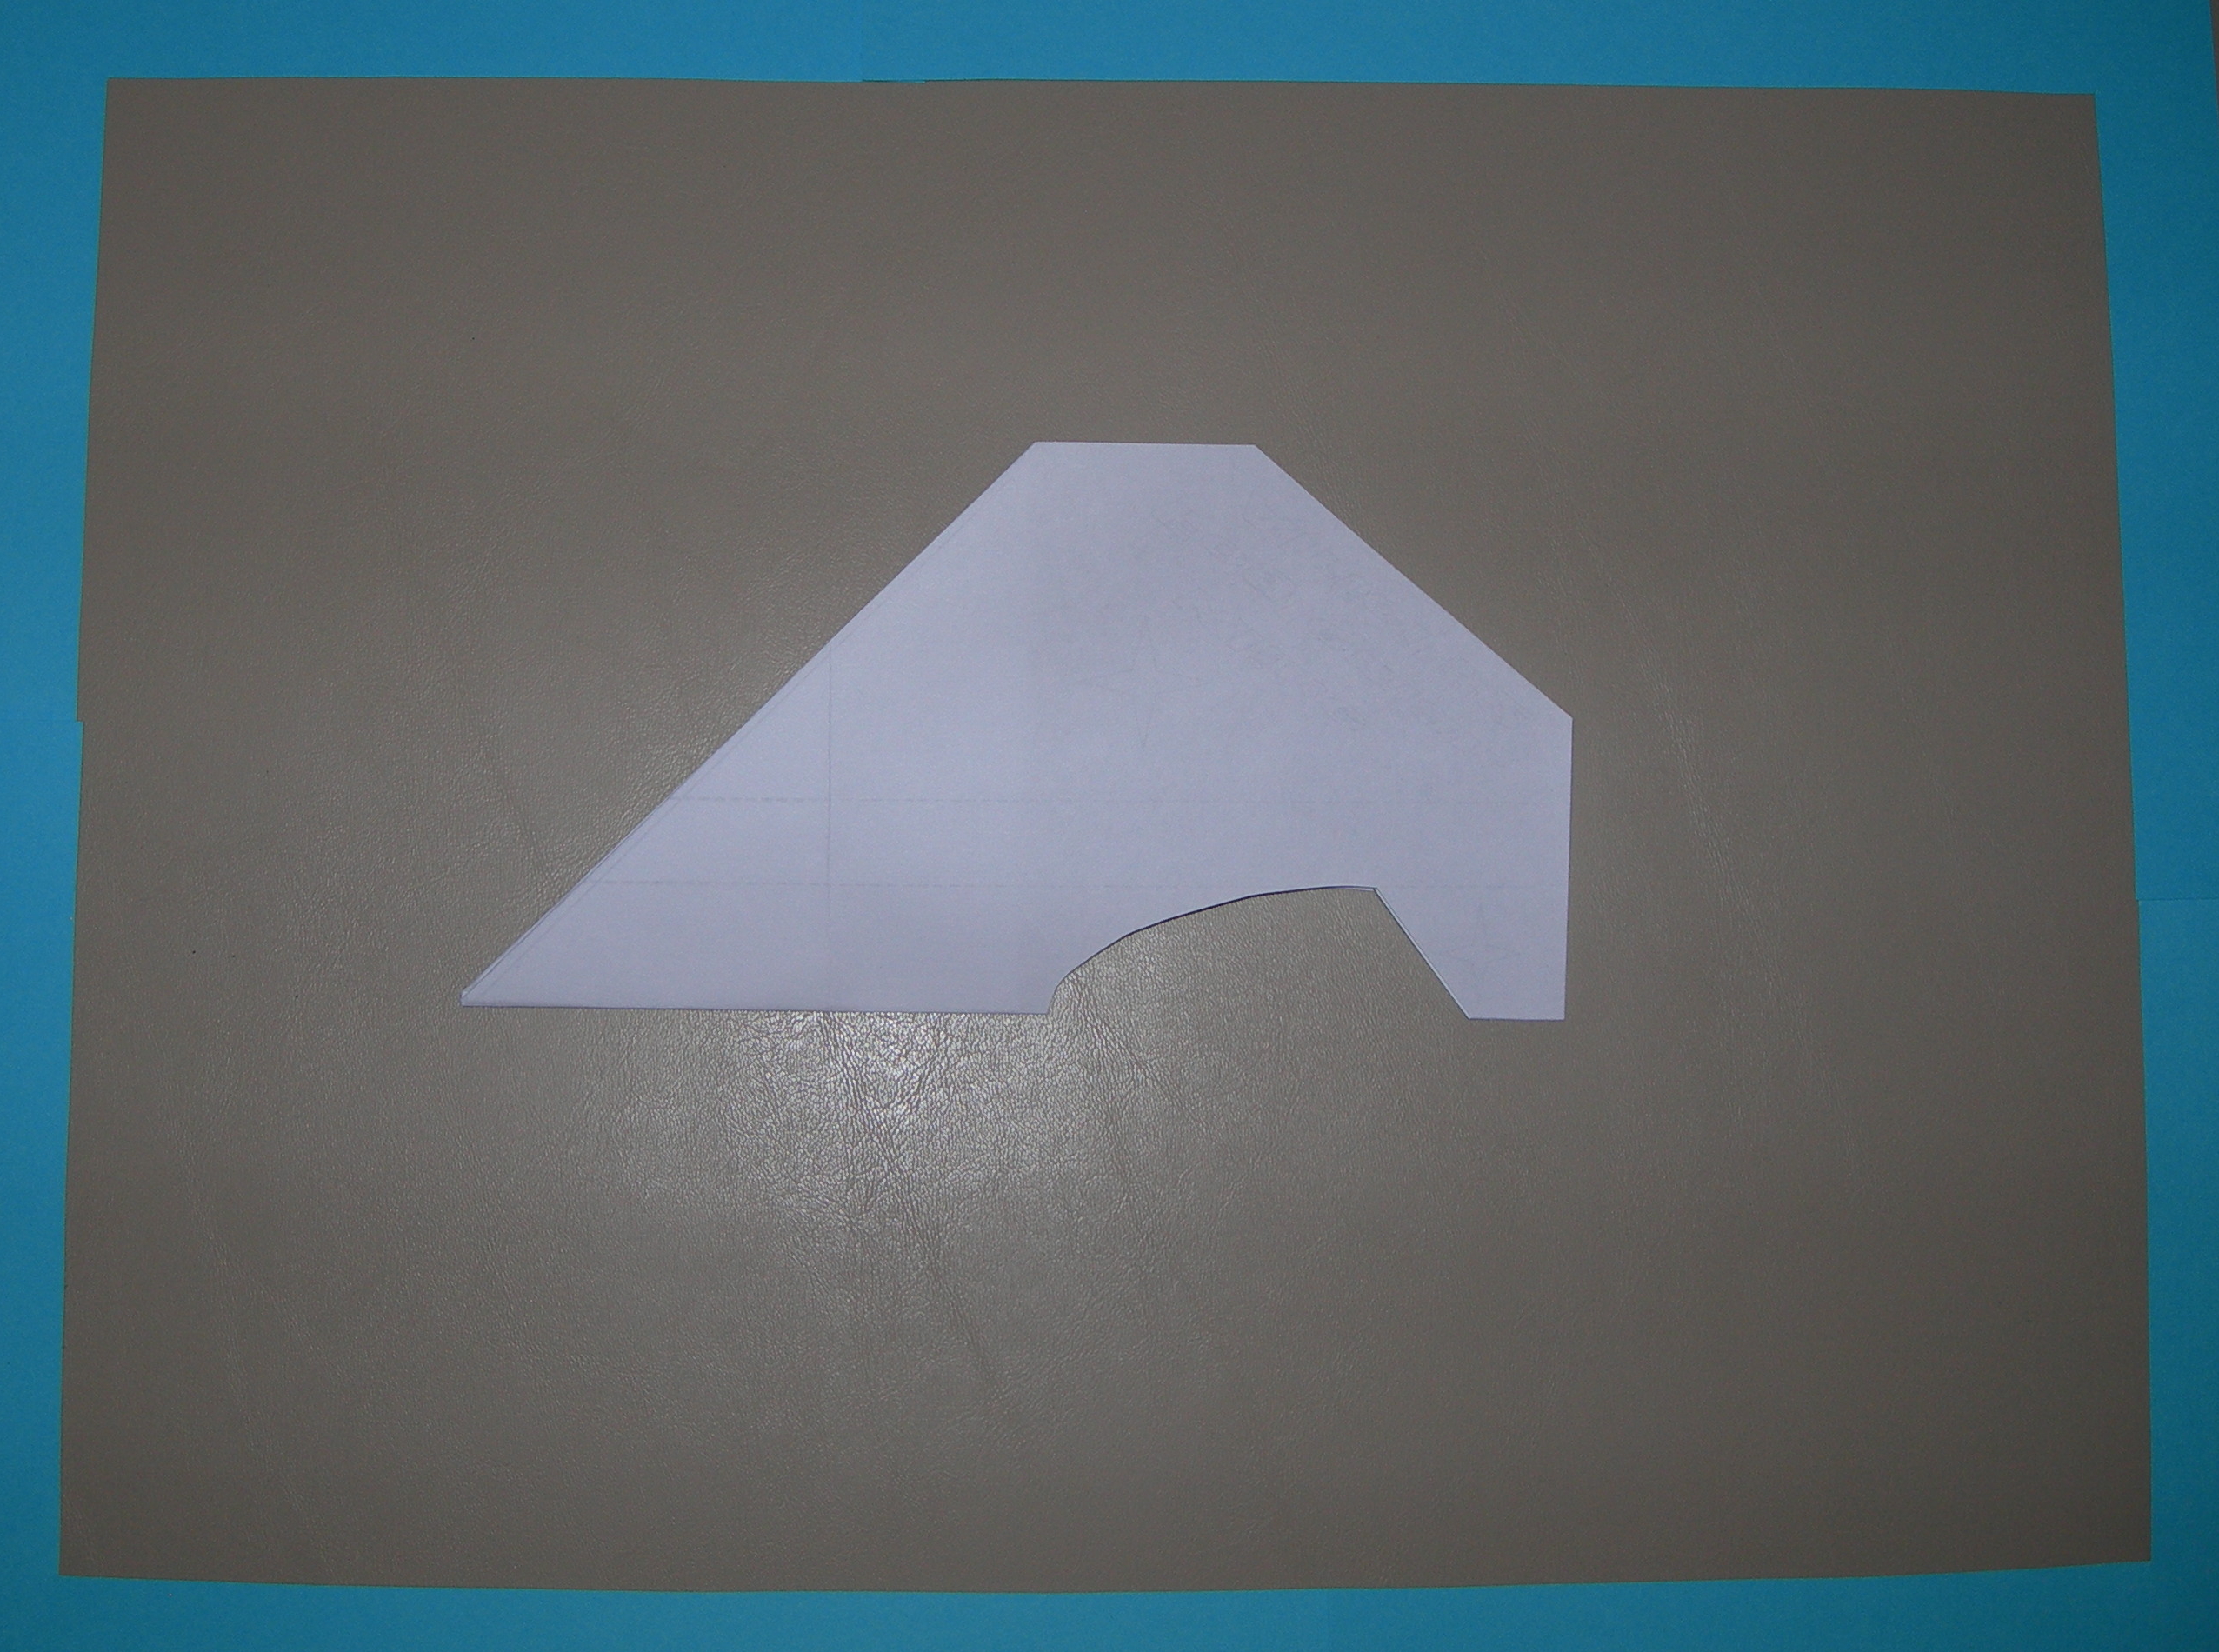
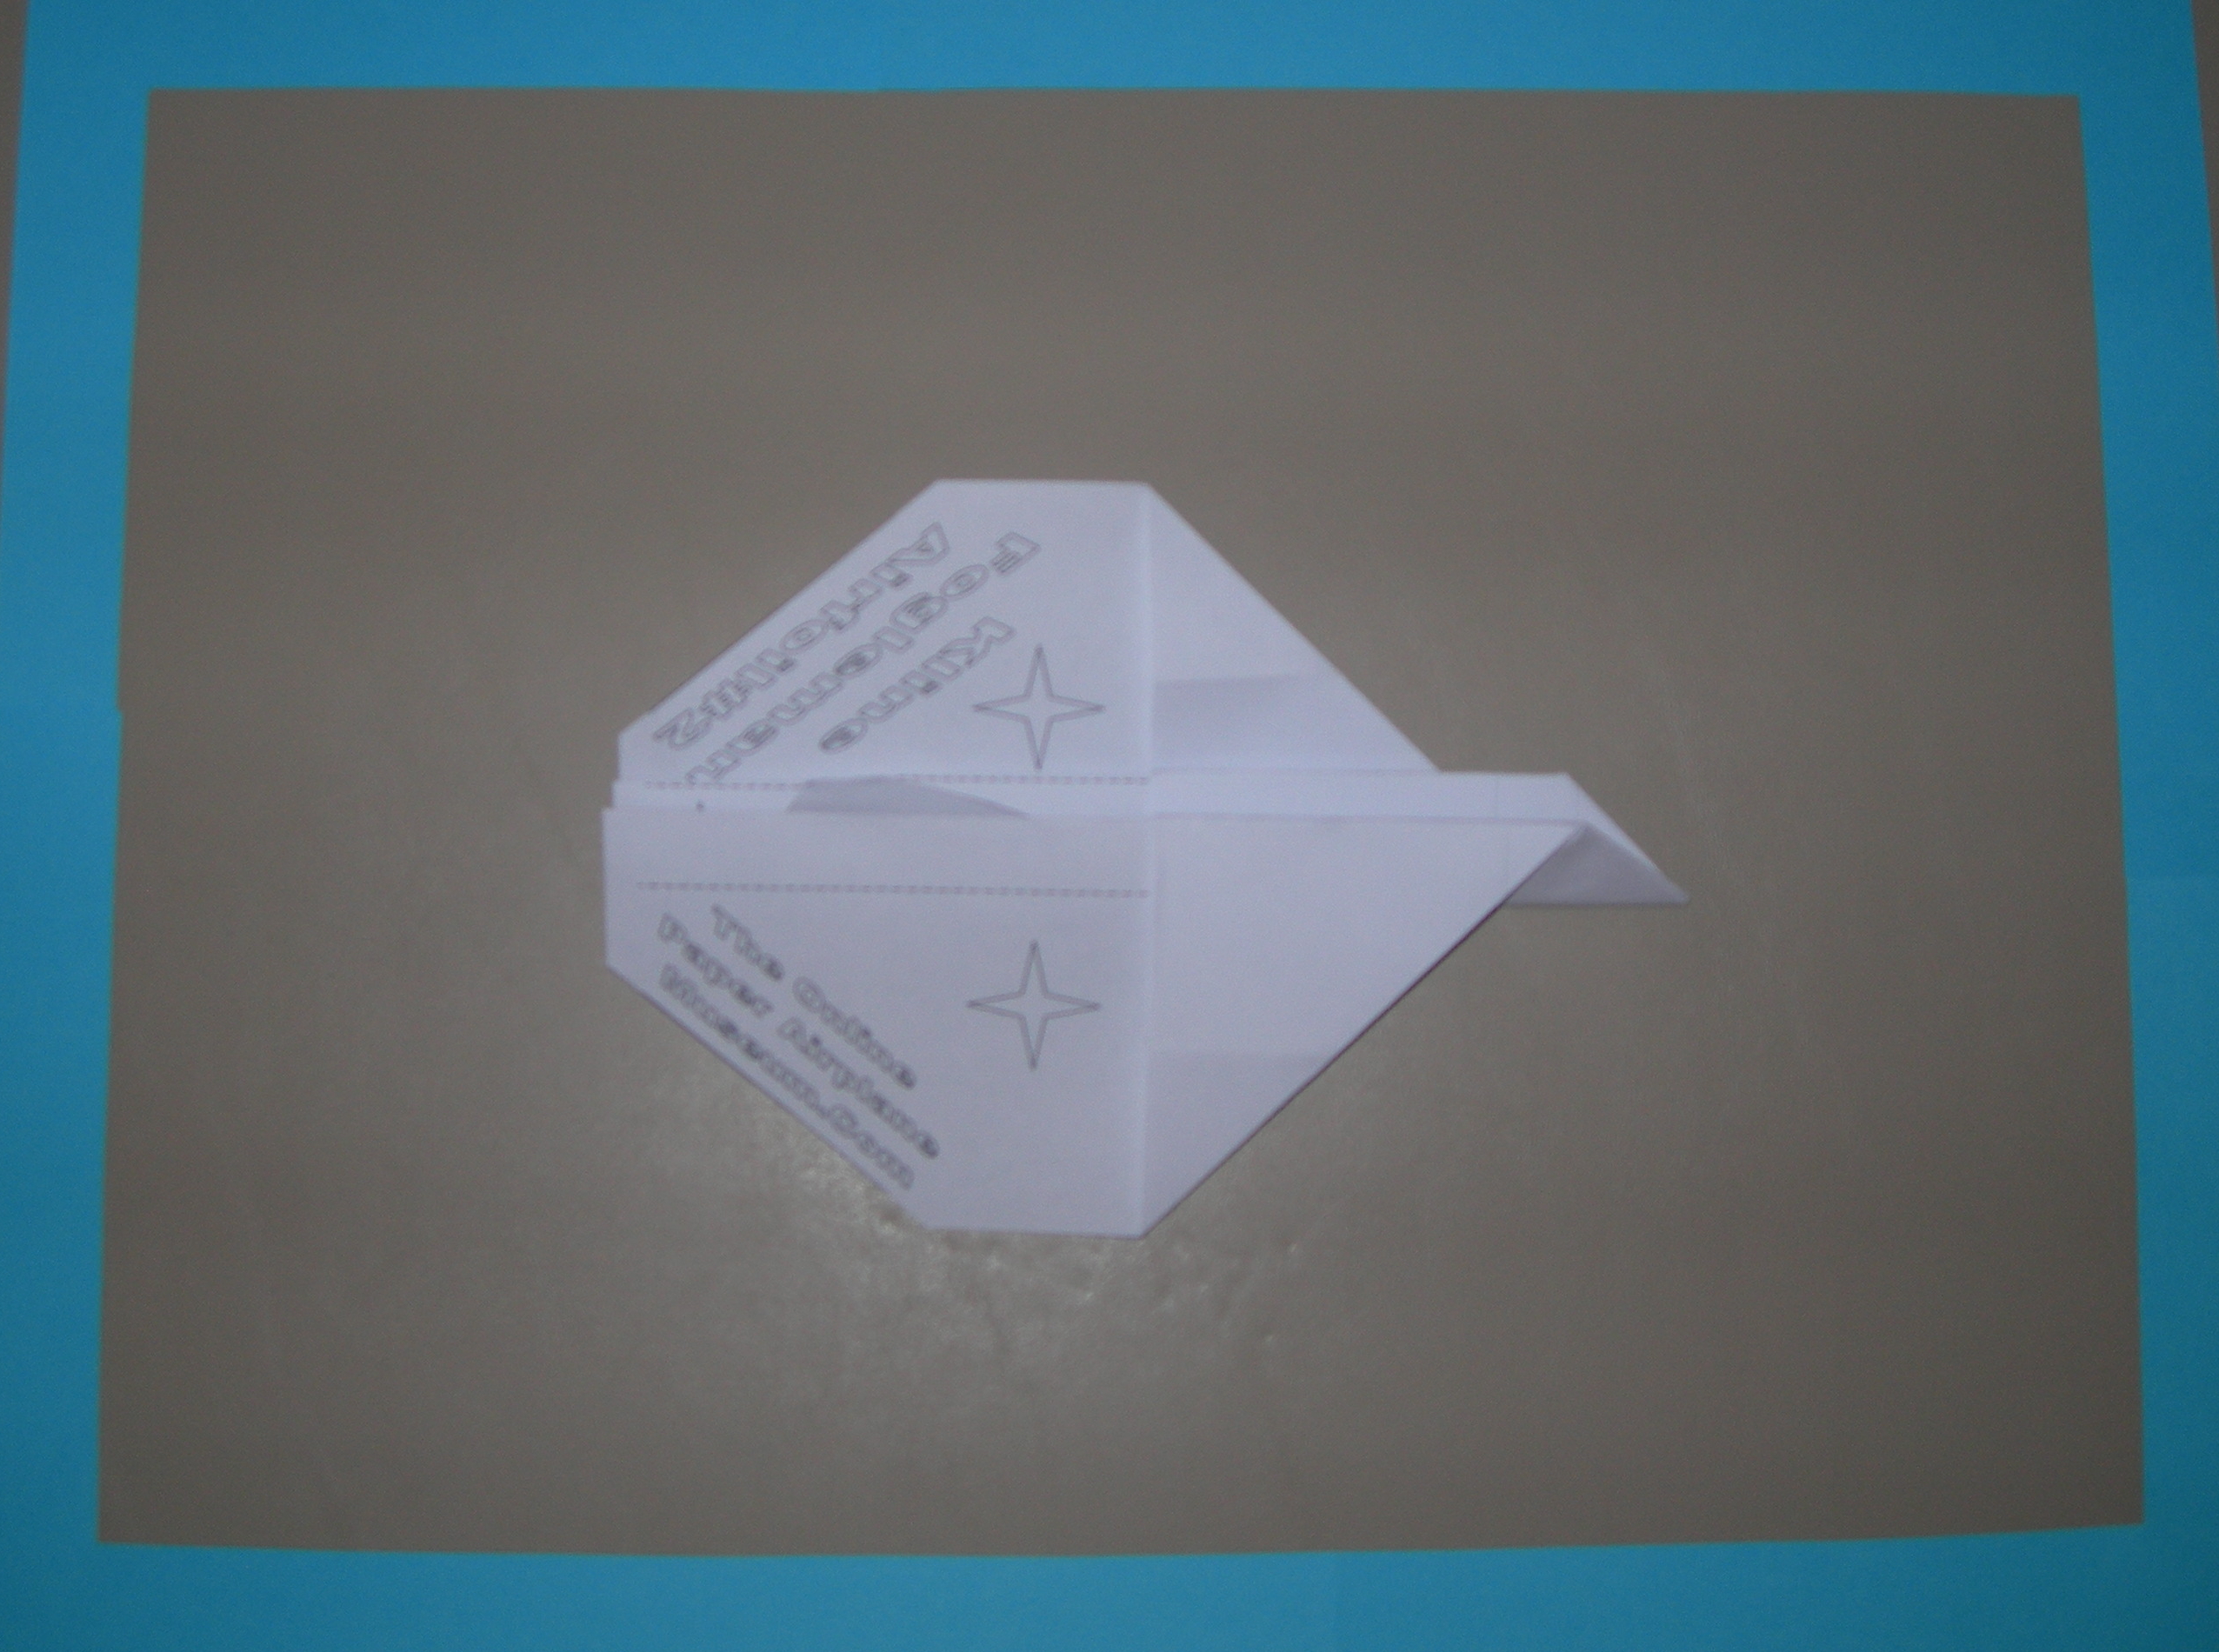
| Step 13 - Flip over. |
| Step 14 - Fold the upper wing down along the dotted line. |
| Step 15 - Fold the wing up along the other dotted line. |
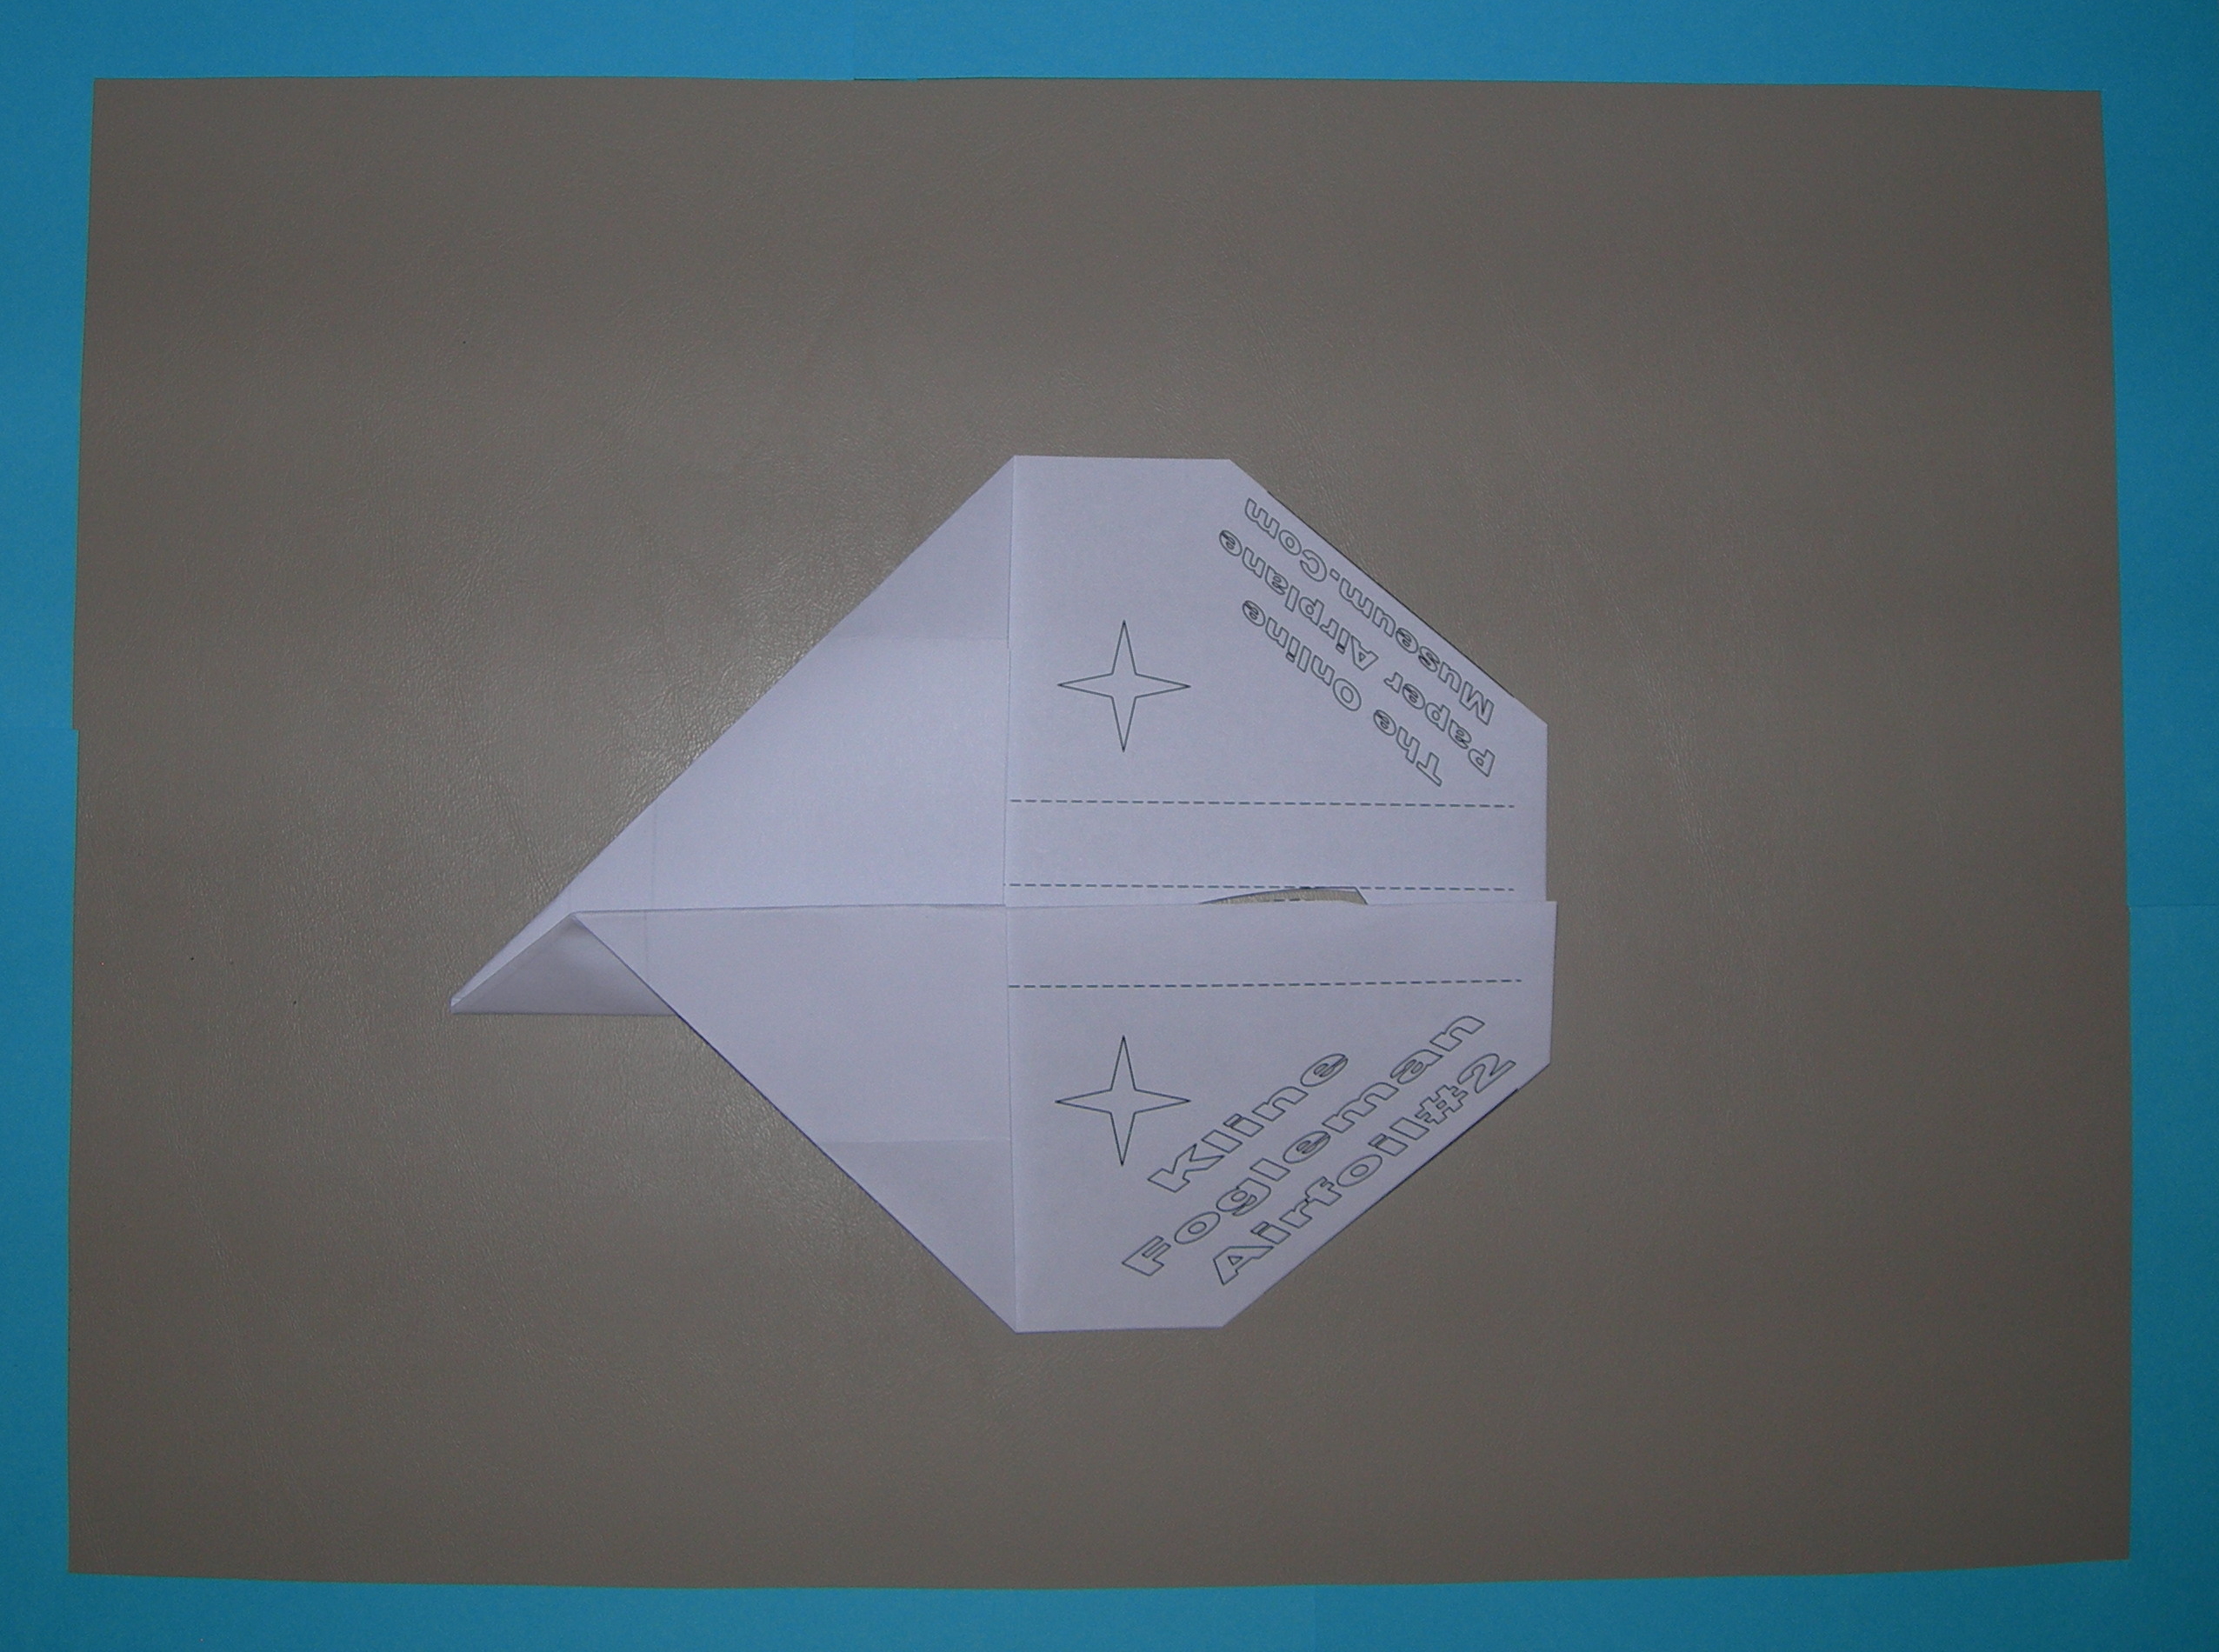
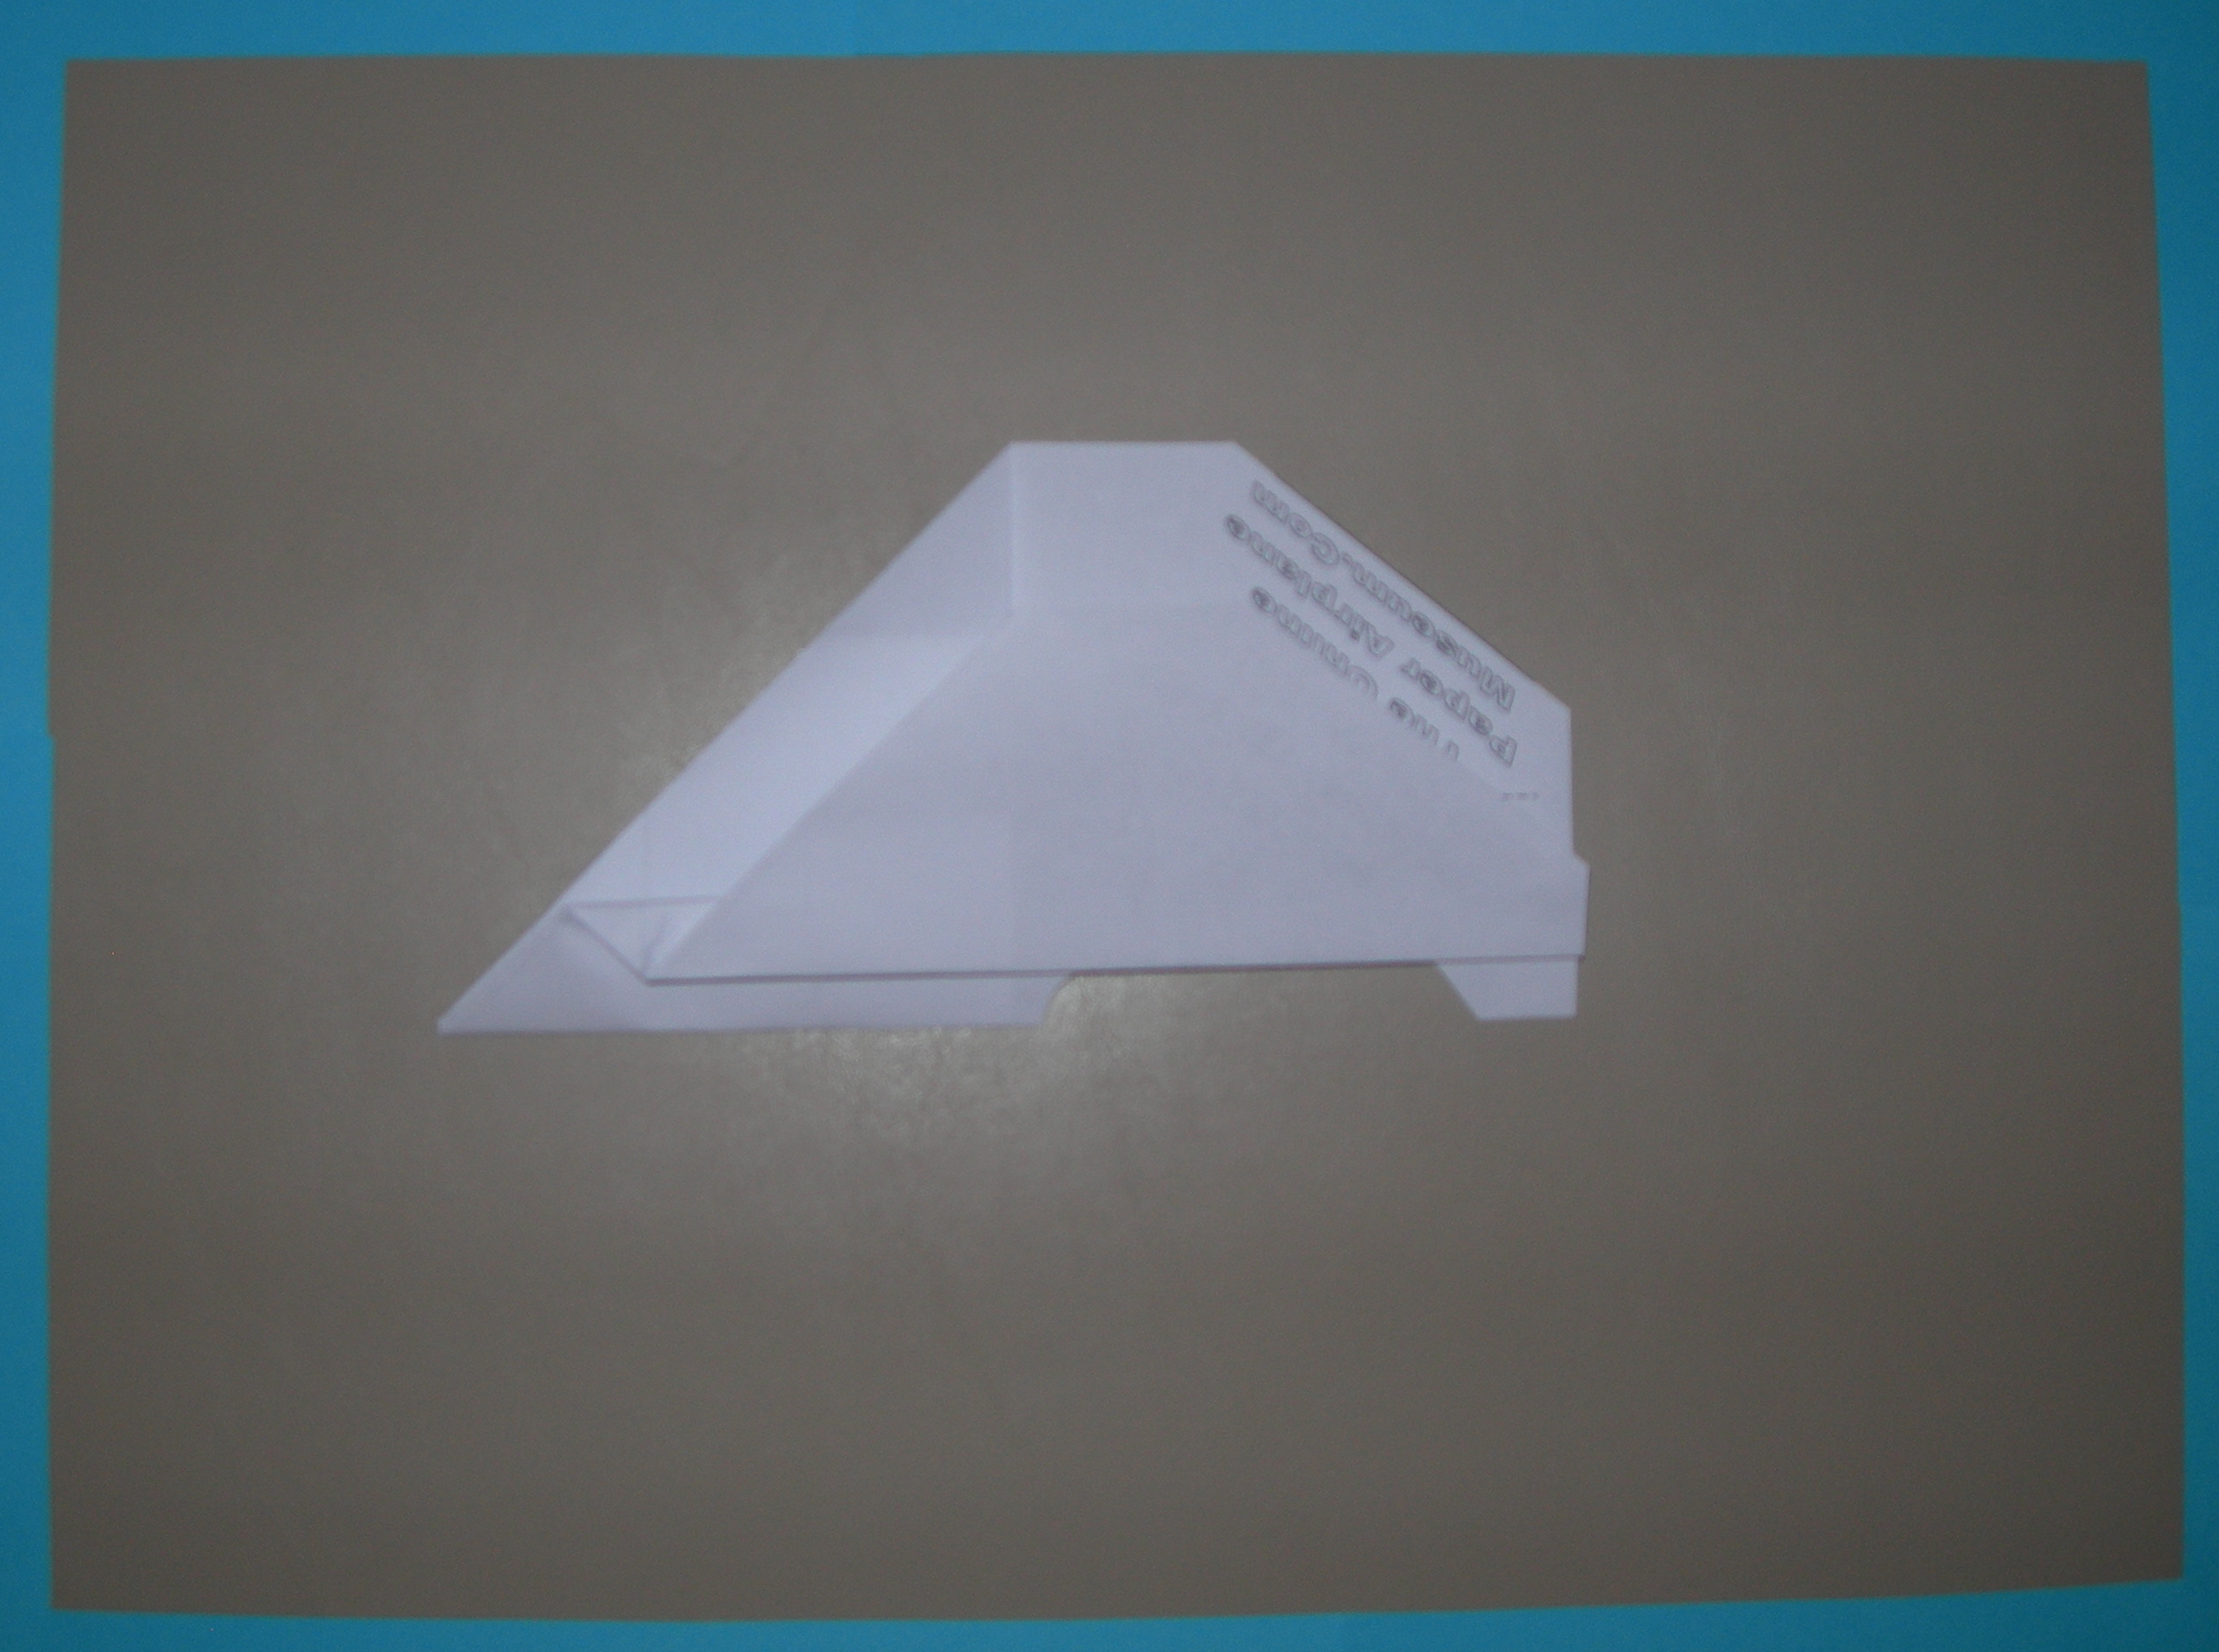
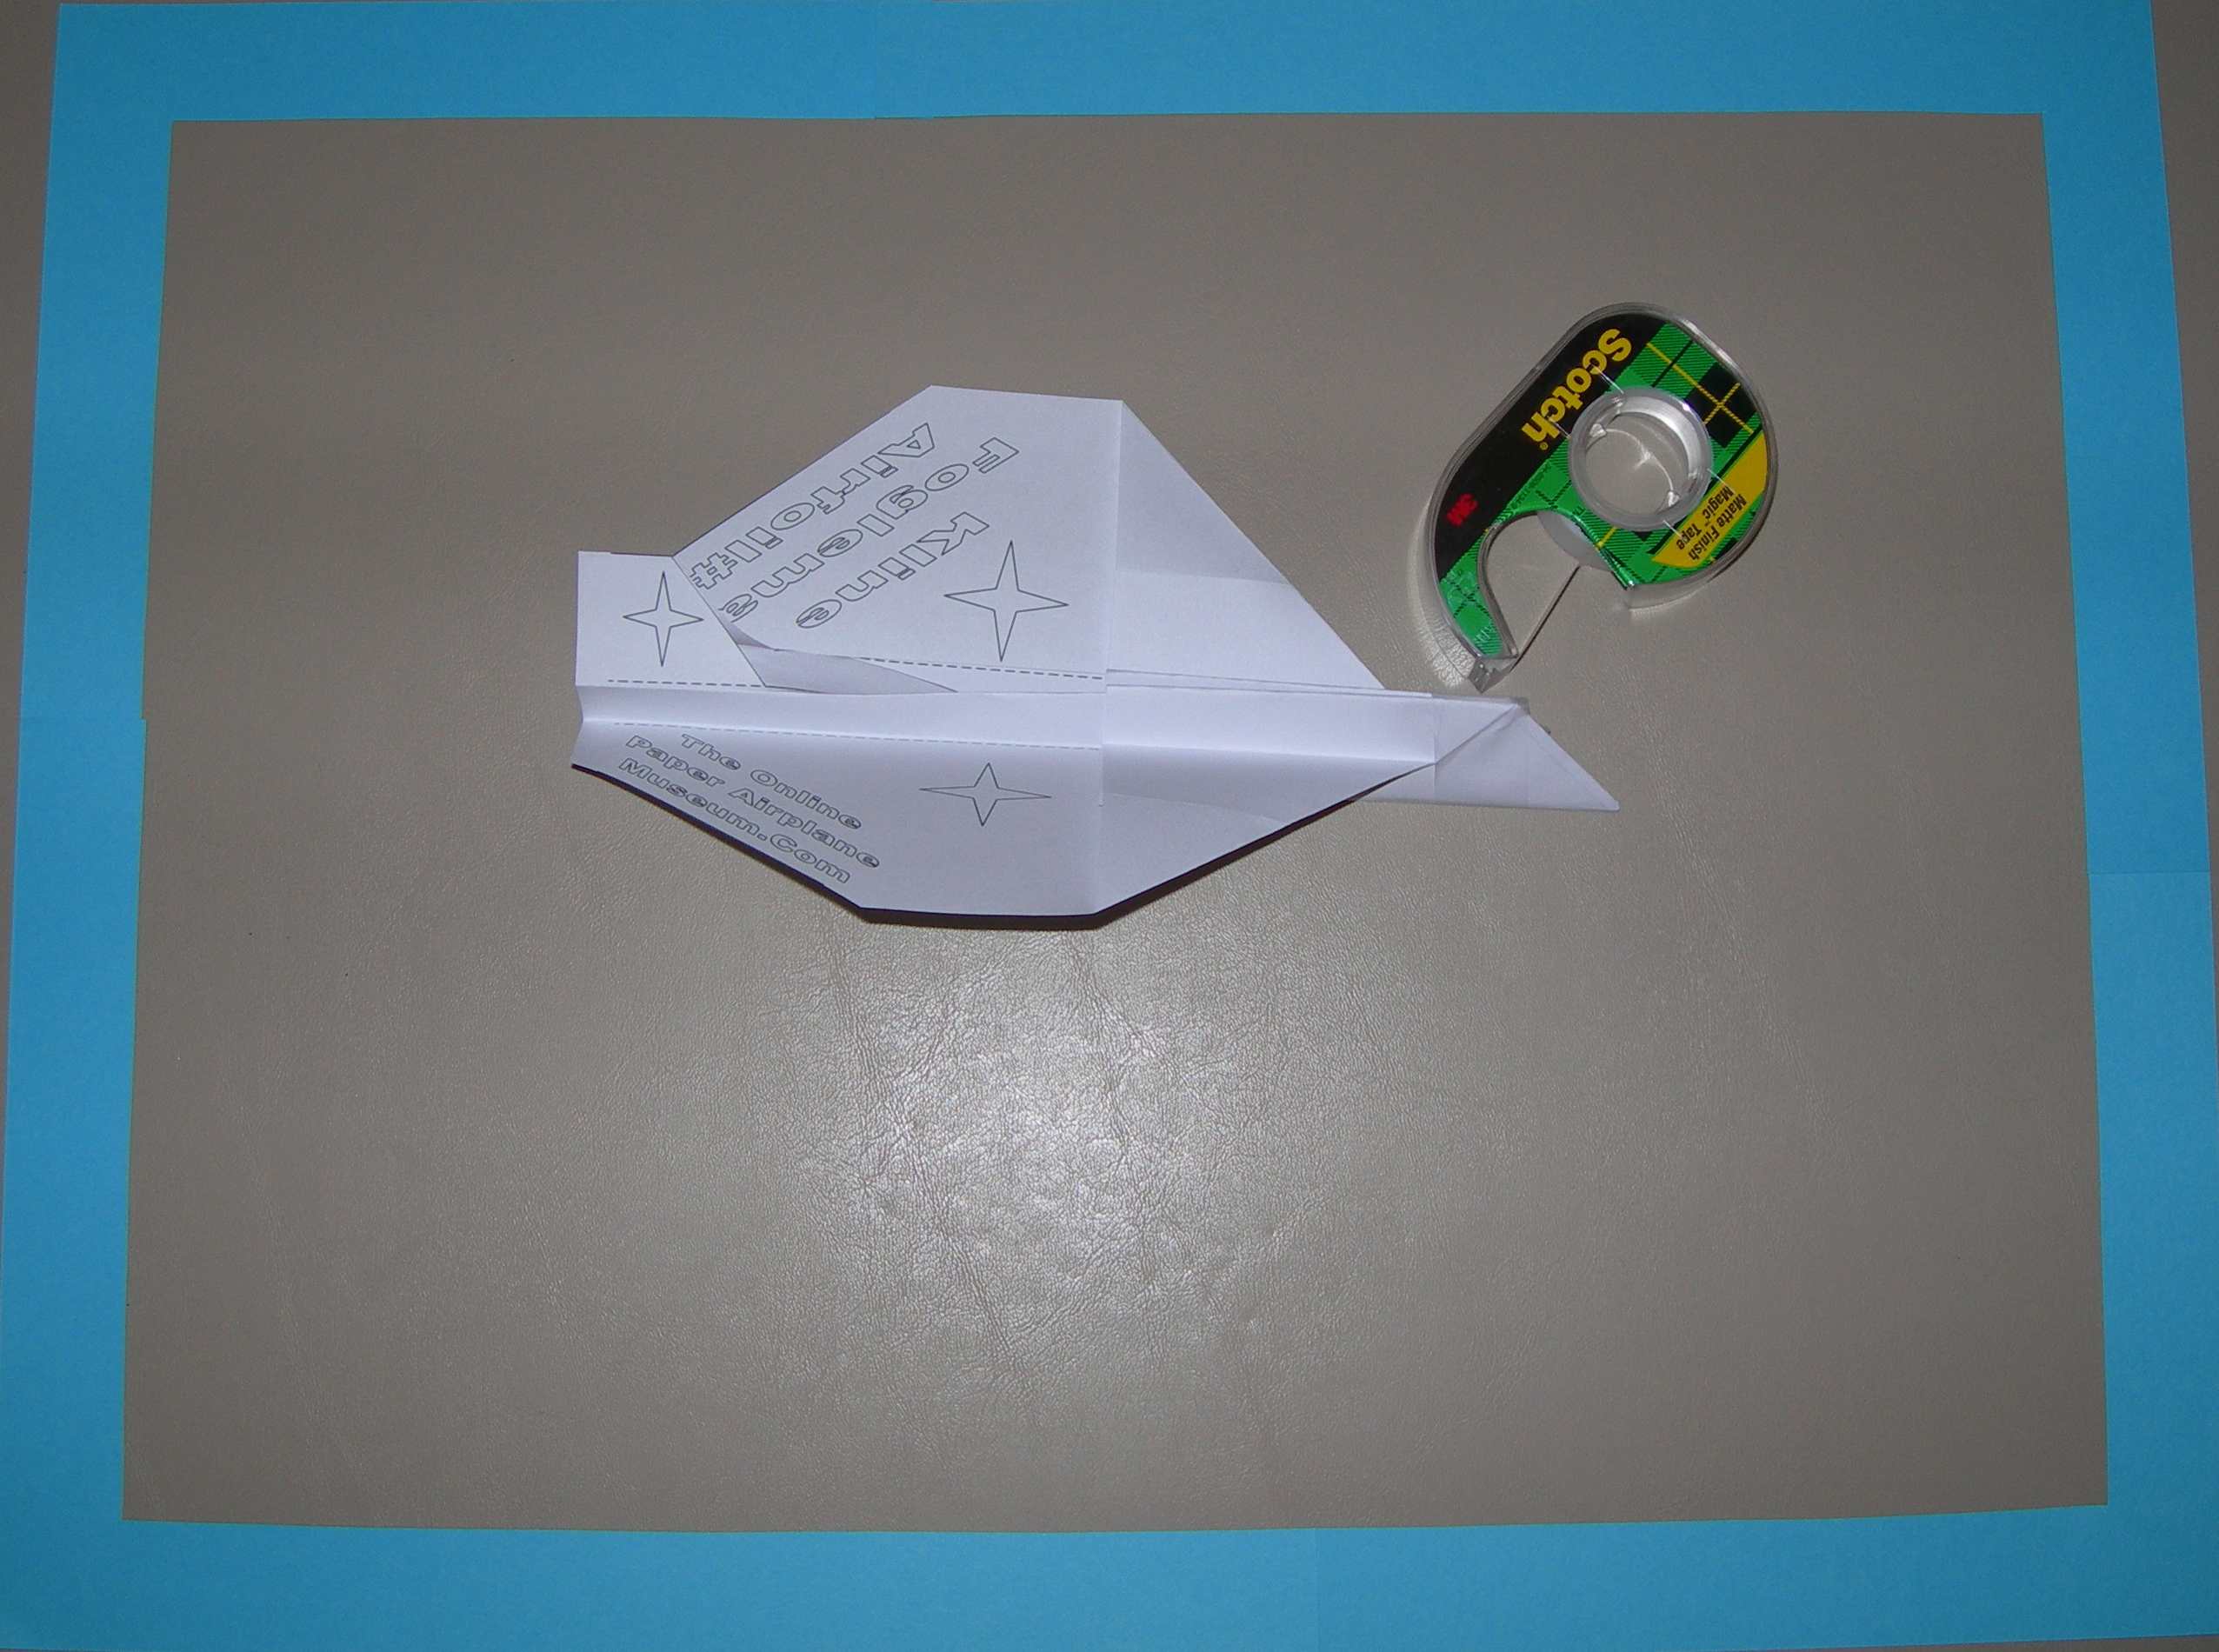
| Step 17 - Tape the nose. |
| Step 16 - Pop the rudder up on the left hand side. |
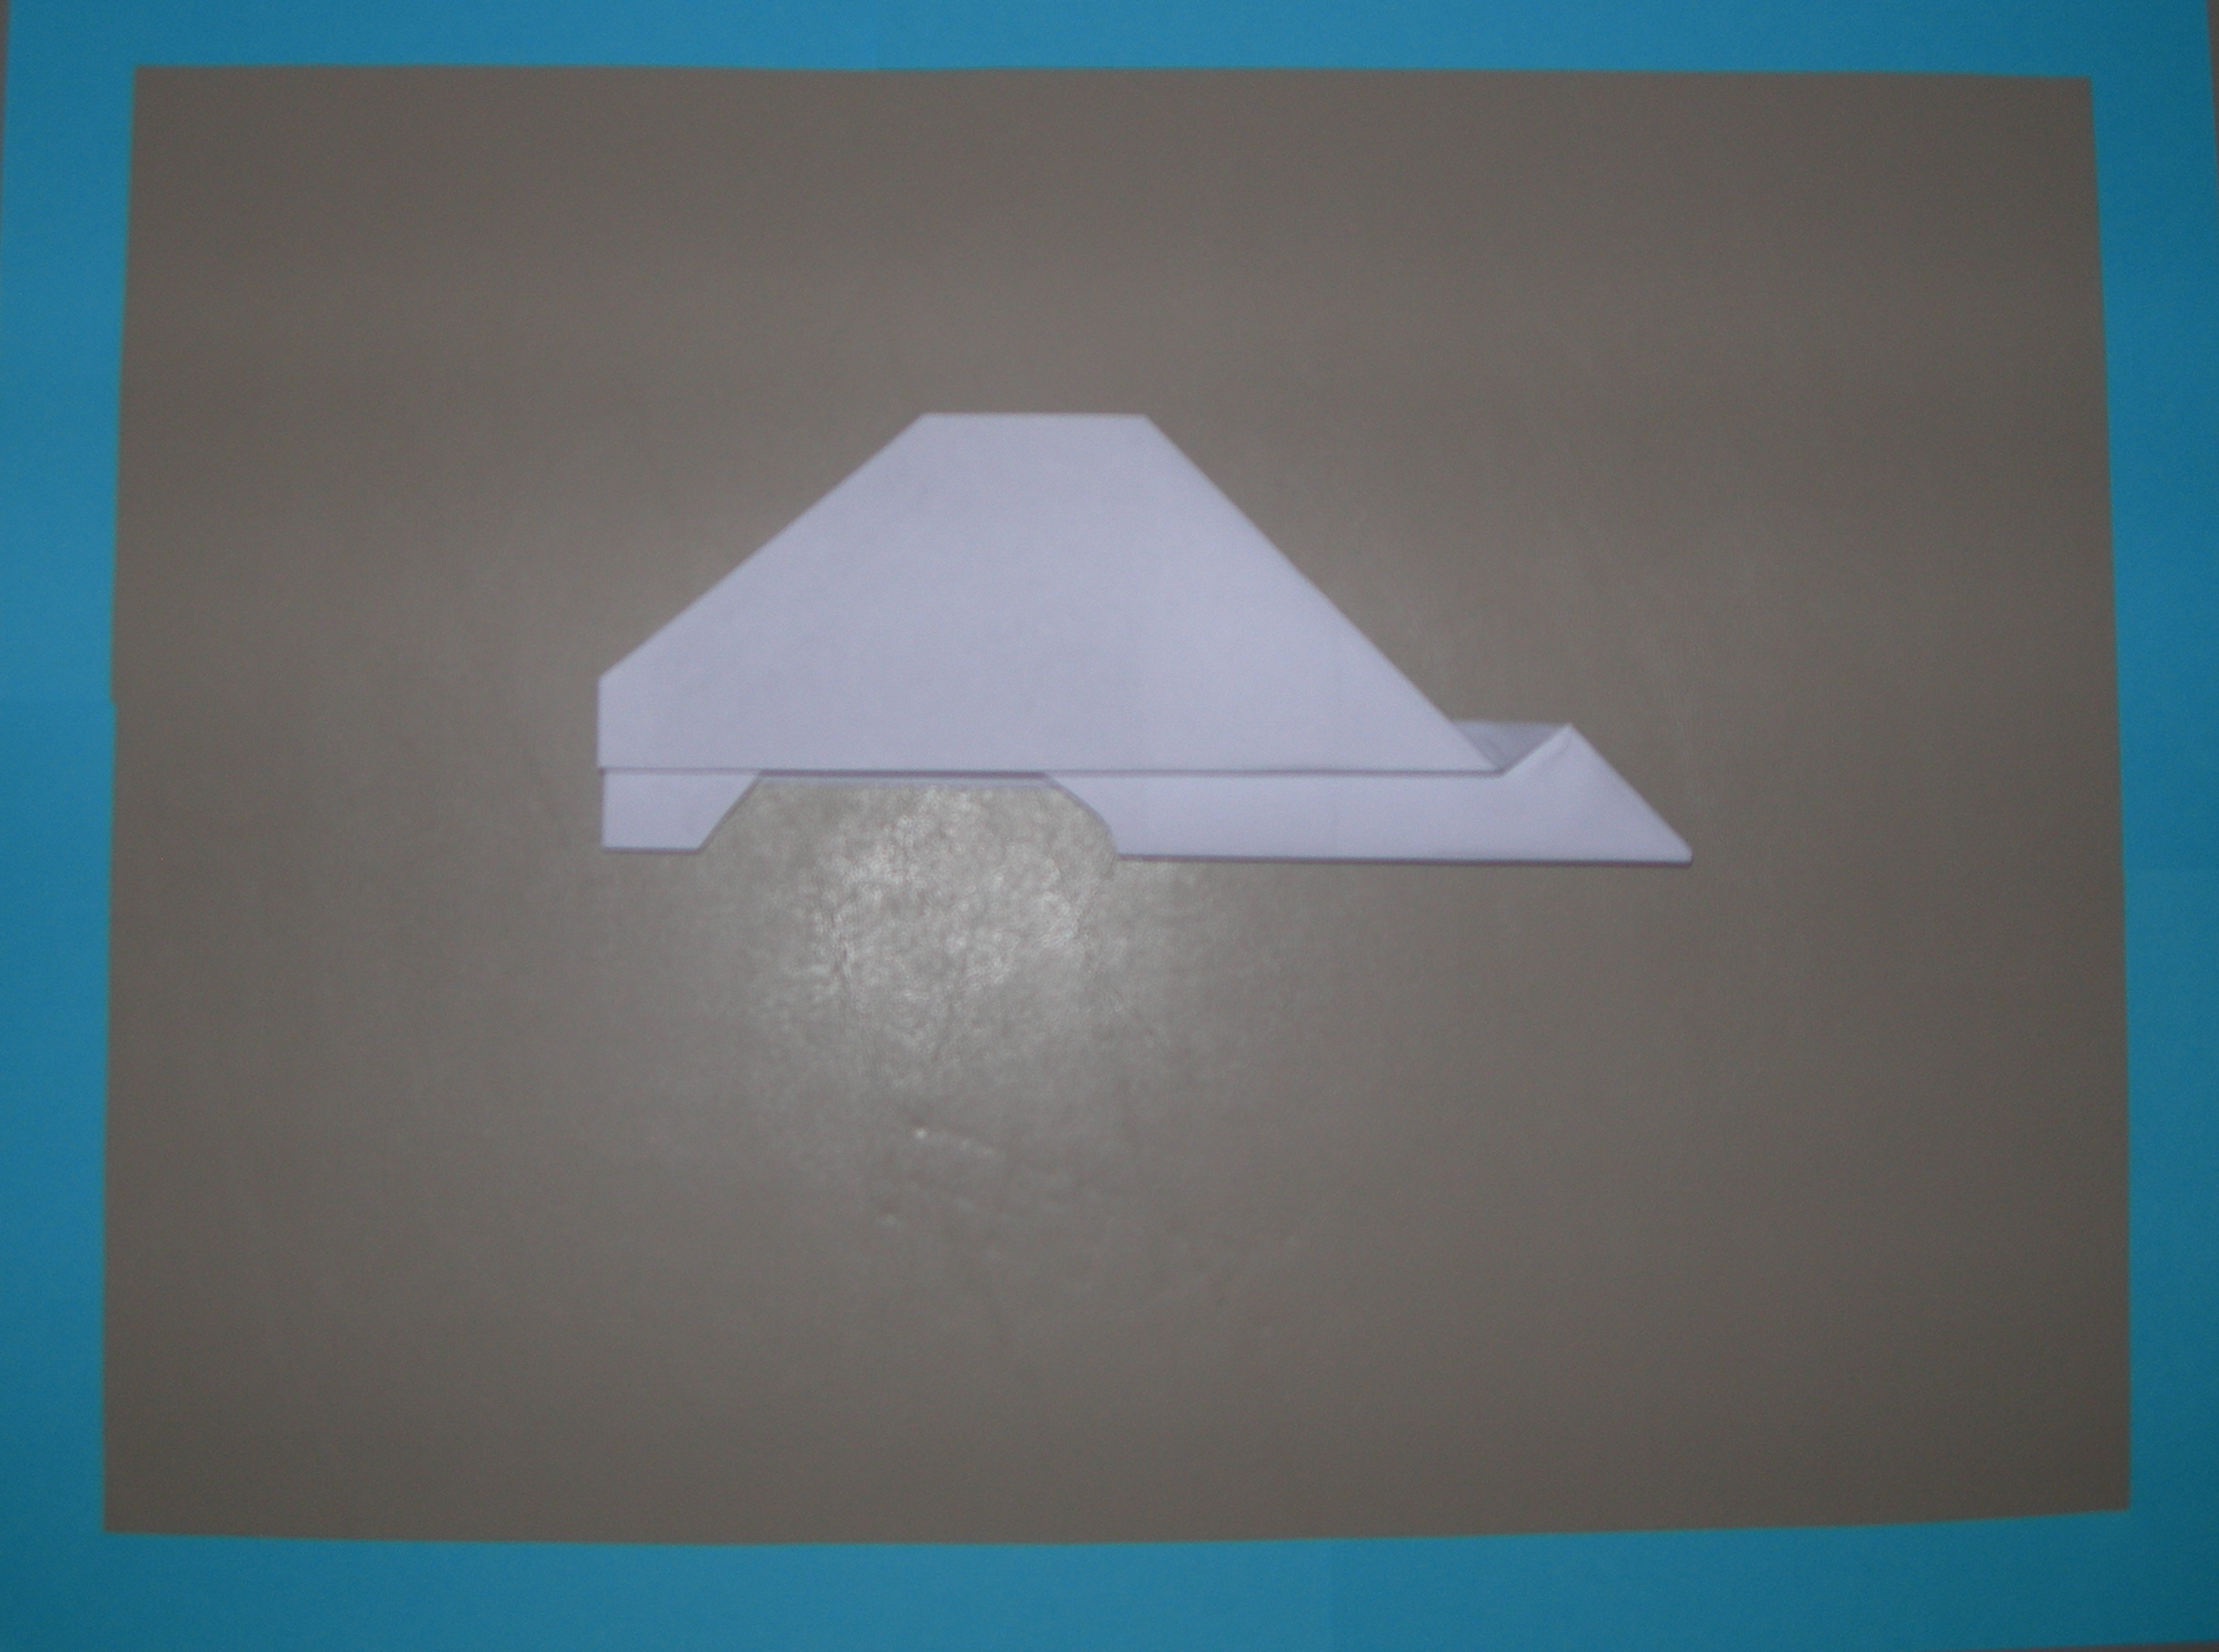
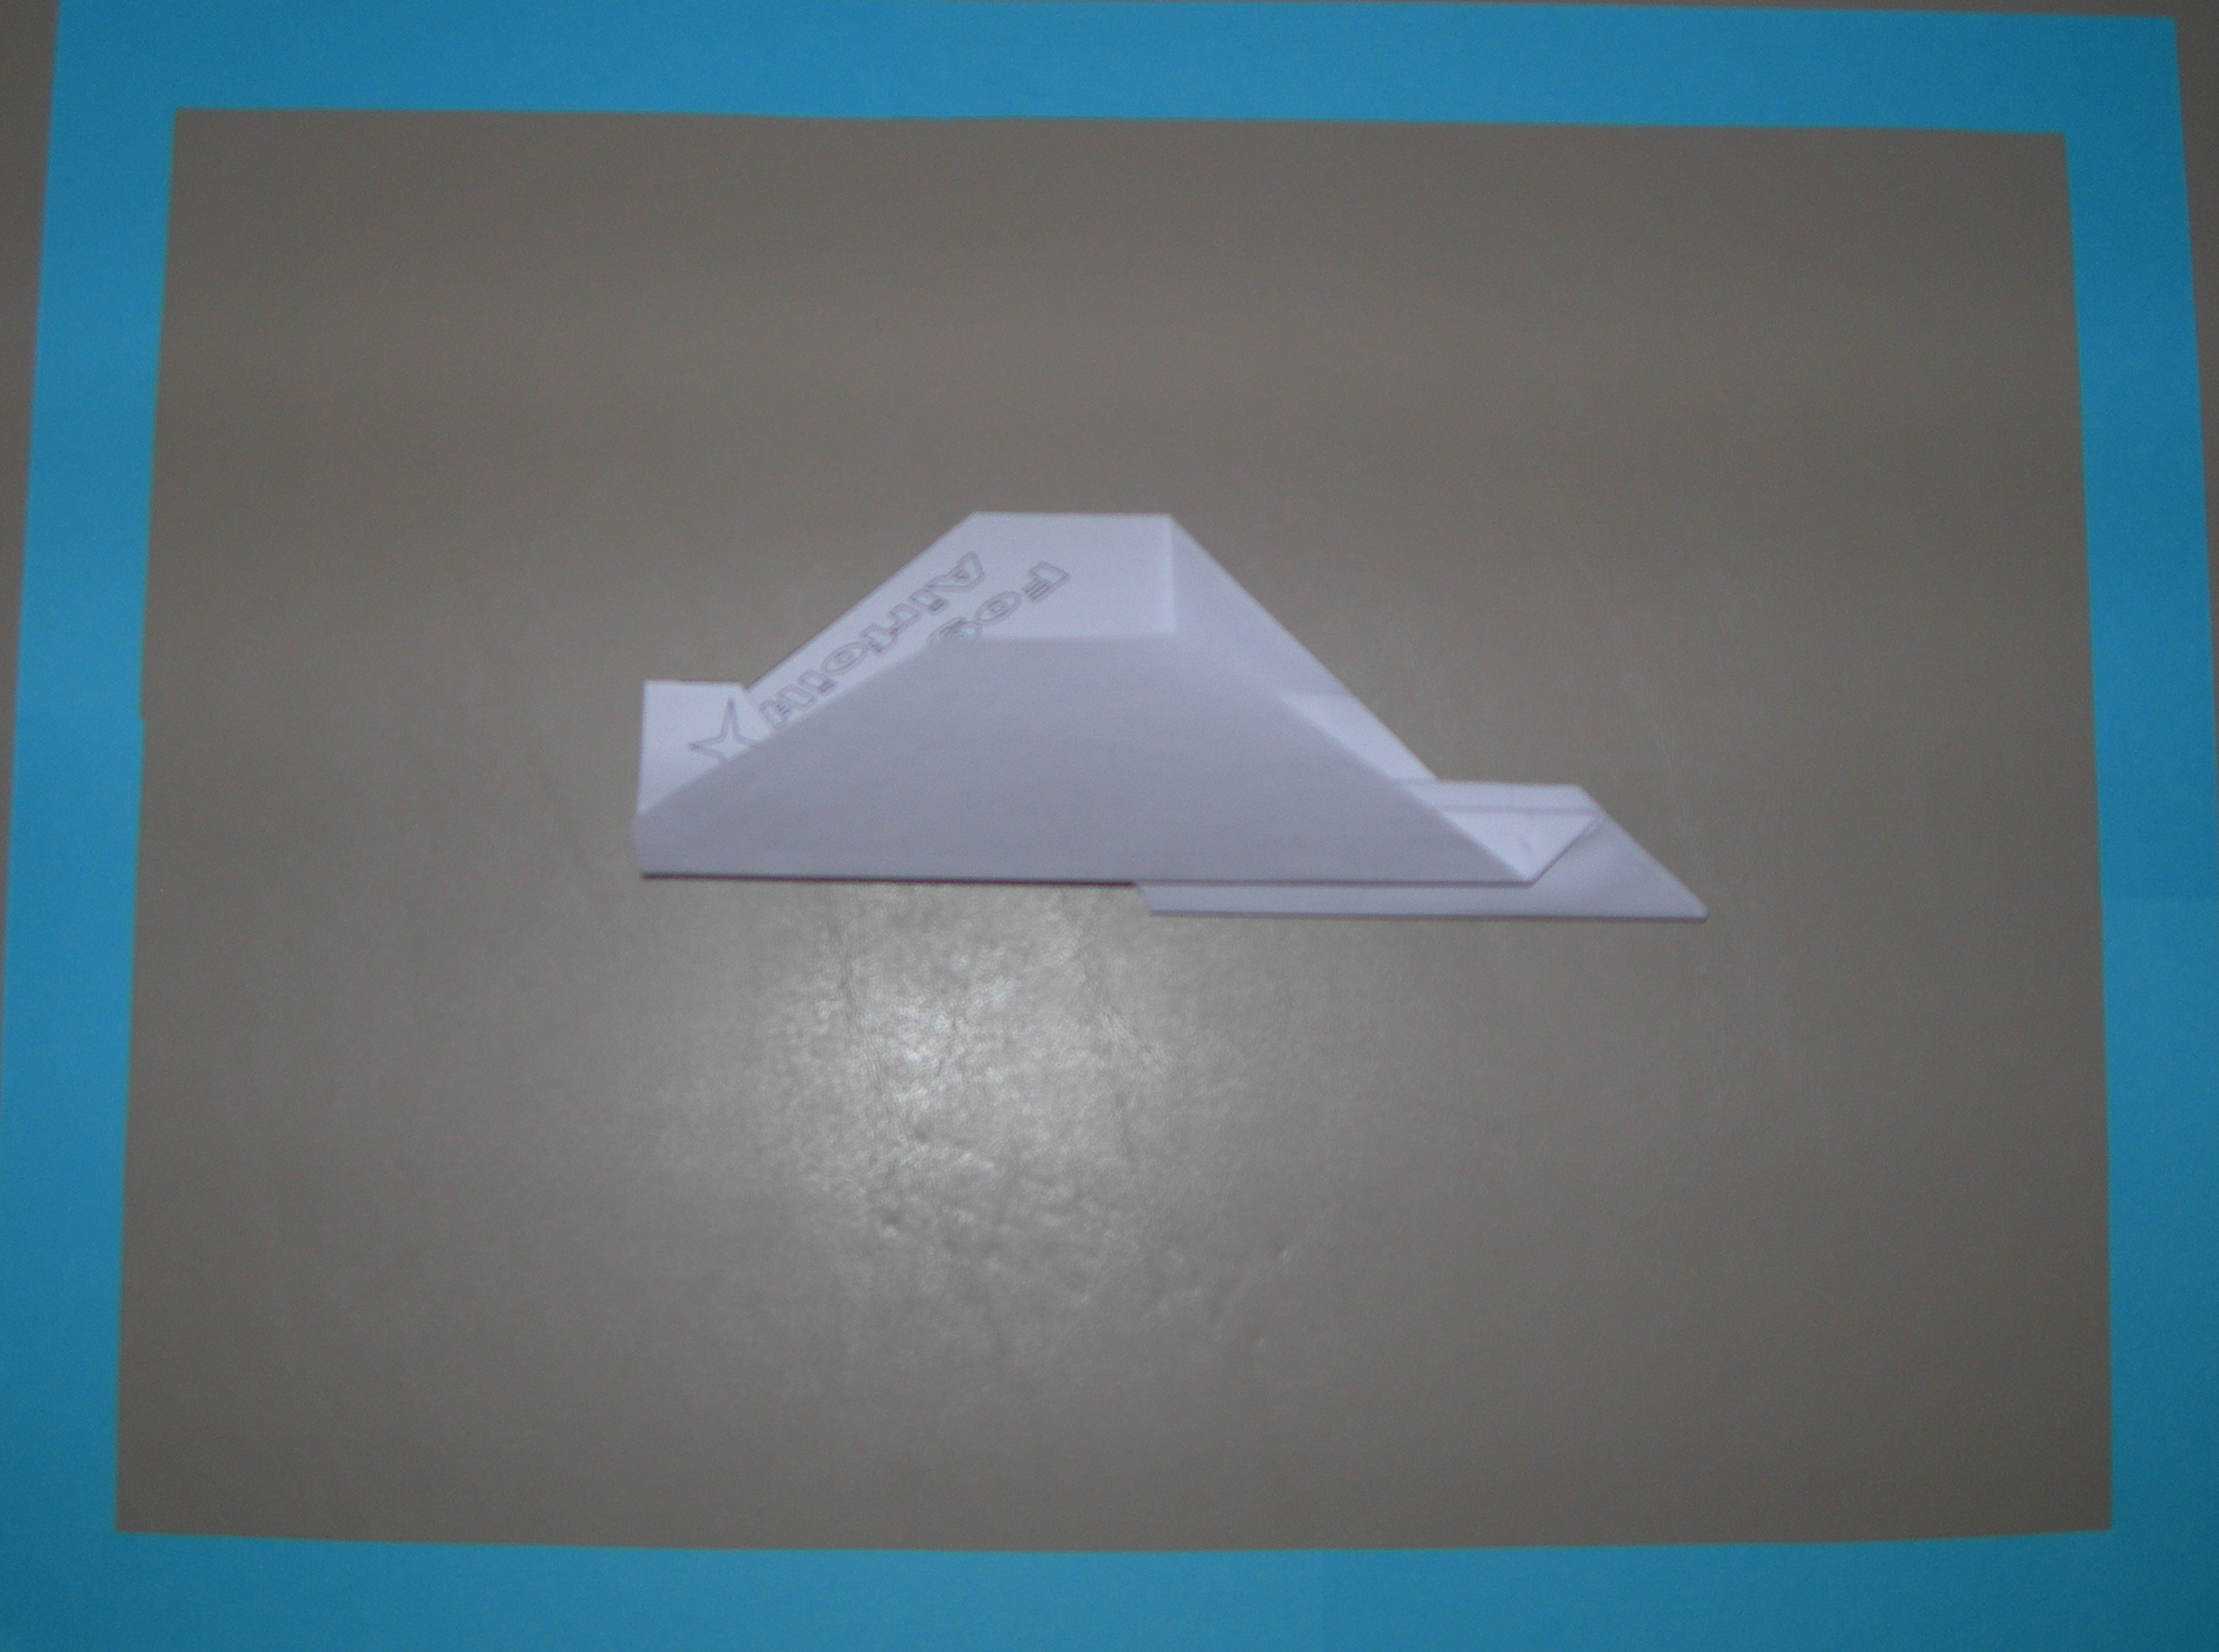
| Step 18 - Flatten the wings and Let it FLY!!! |
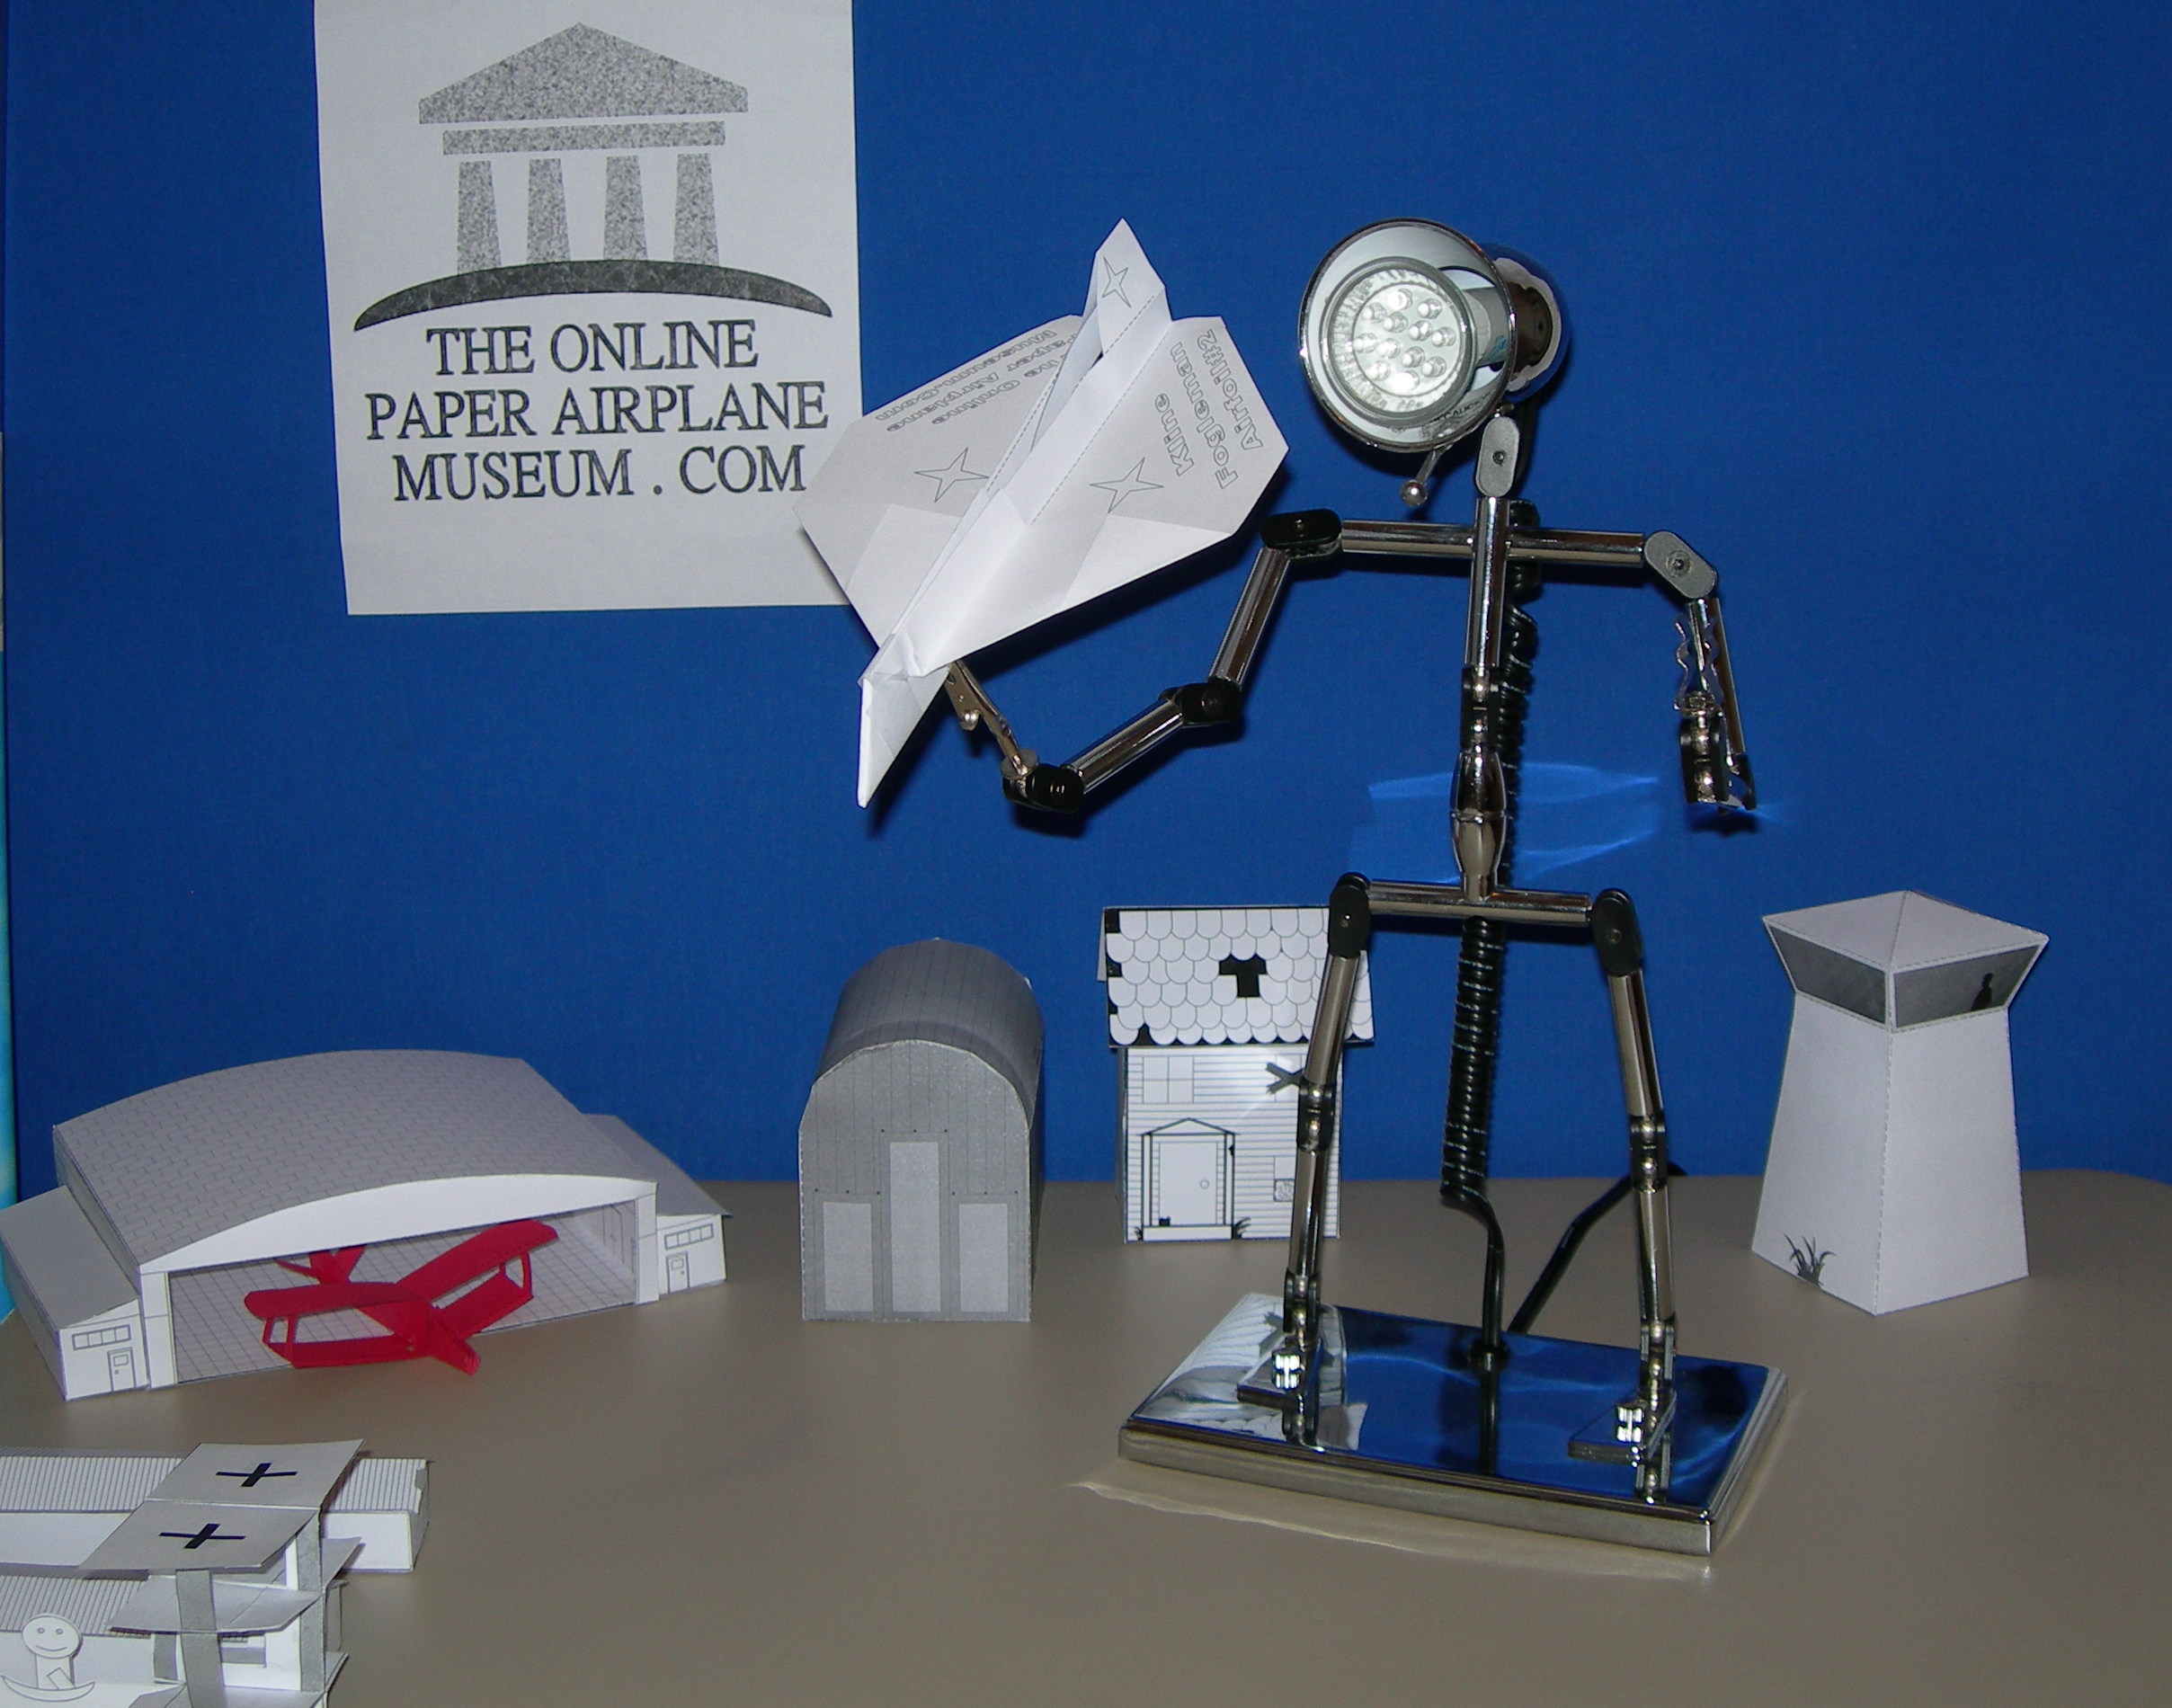
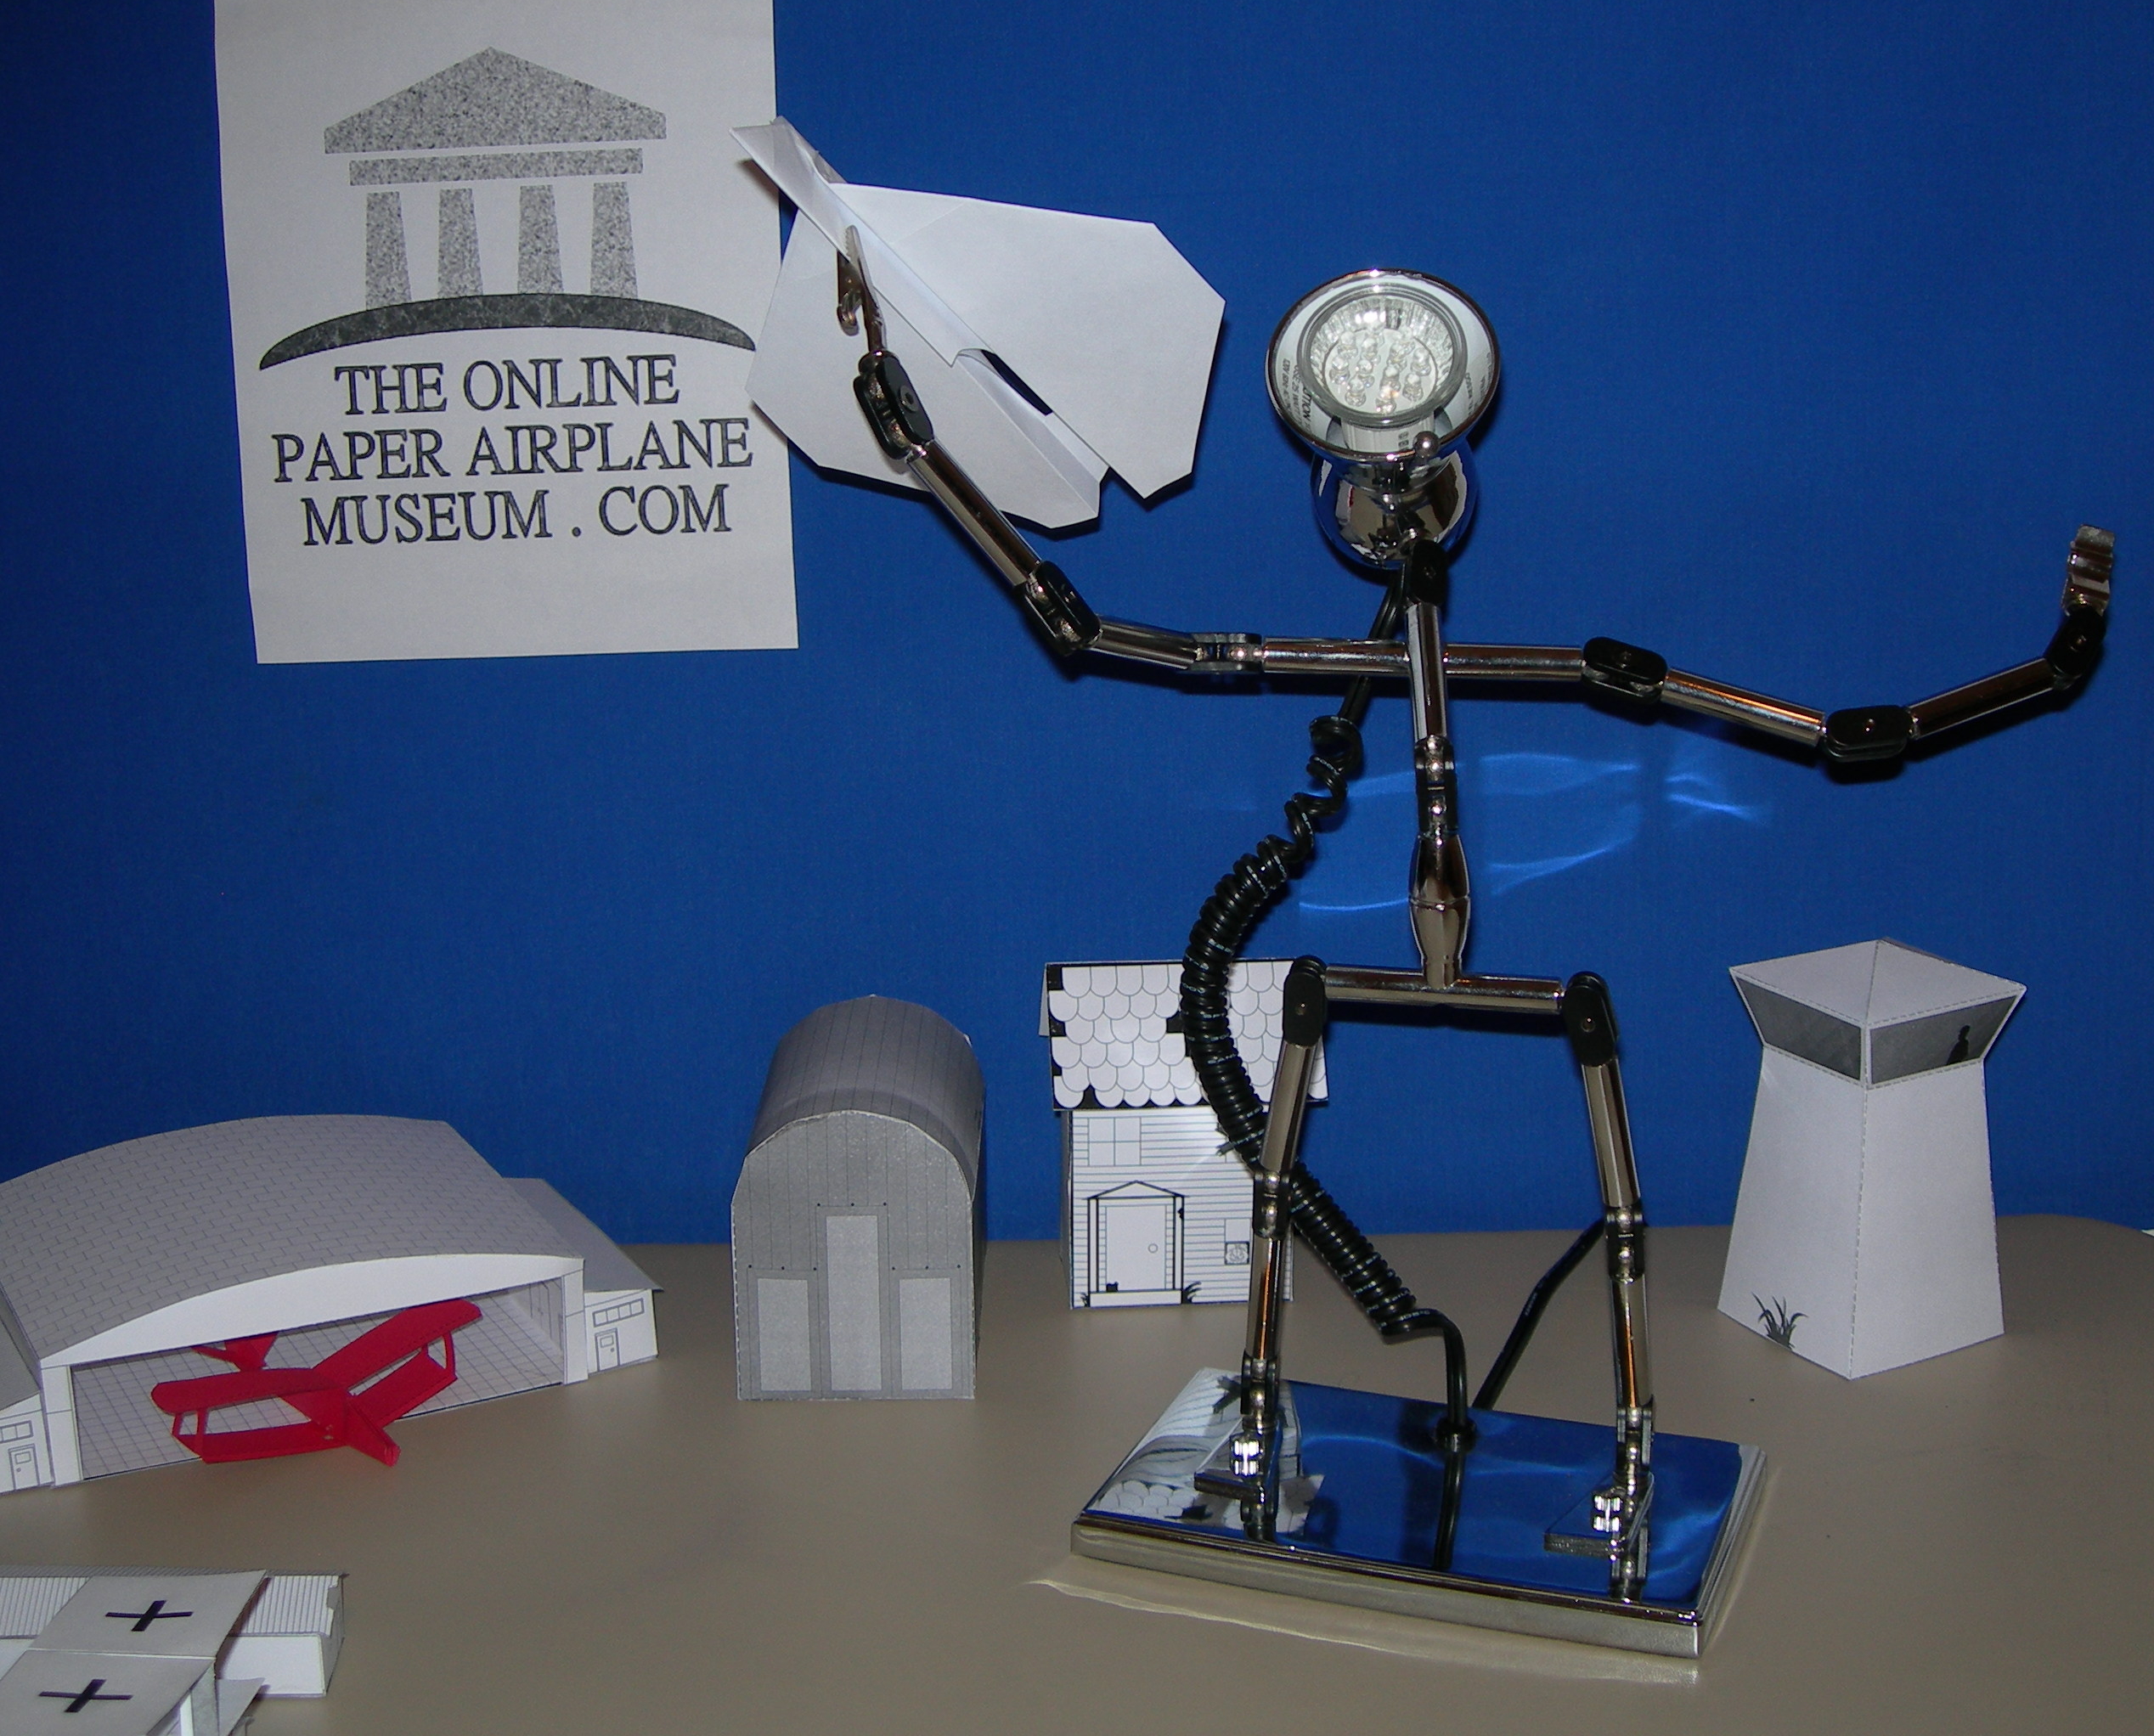
| Step 19 - Robbie delights in how well this one flies! |
| Enjoy the airport scene? Check out the links for them HERE. |
| Like this Design? Check out the book and the story behind it at Amazon! |
| Another Kline/Fogleman Airfoil plan is in The Museum HERE. |